
For my sons 5th birthday, I decided to try my hand at a DIY Kids Workbench. I’ve seen them all over Pinterest and it seemed like an easy project, IF you can find a good base to start from. I have seen nightstands and wooden storage shelving be especially effective! Like this bedside table repurposed into a toy tool workbench by Giggleberry Creations.
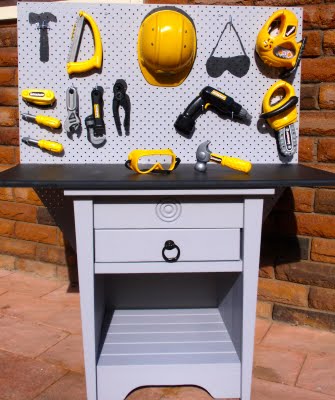
Bedside Table Repurposed into Toy Tool Work Bench by Giggleberry Creations
So, I set out consulting my BFF Craig, and I came up with a few options. I considered trying a changing table… But decided they would probably be too high for my little guy…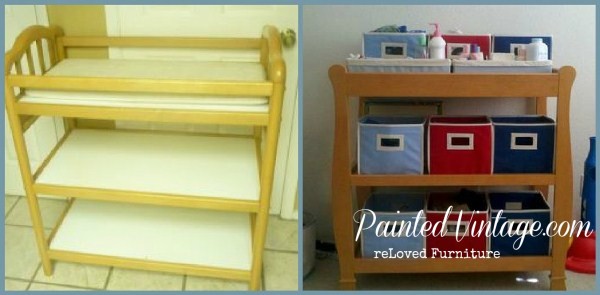
Then I found a nightstand that I really loved the lines of! I thought this would be perfect (or maybe a little to small??) But for 6 bucks, it screamed perfect! I should have guessed someone would snatch it up quickly at that price… So needless to say, I had to keep searching.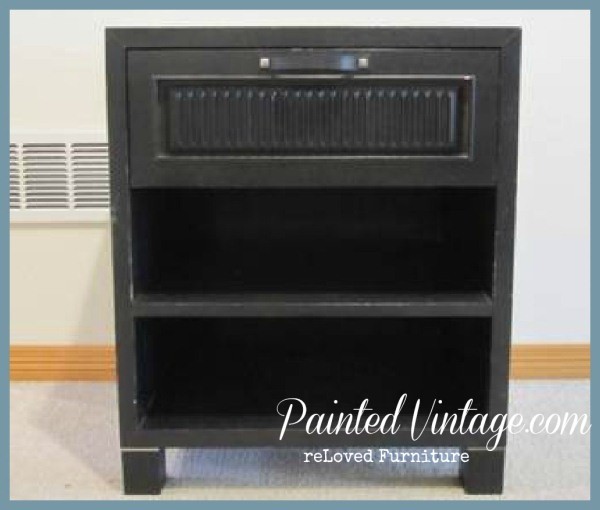
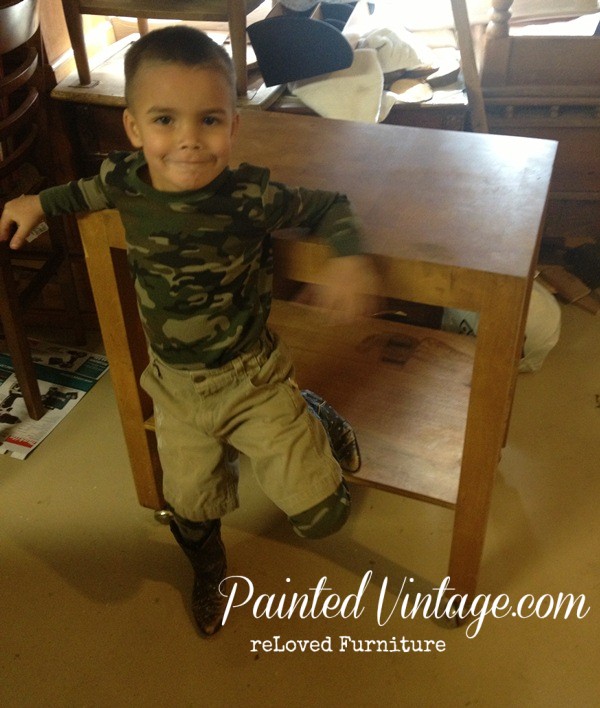
Then, I found it!! A truly perfect, kitchen Butcher Block Cart… Right there on CraigsList (or Greg’s List as Uncle Si would say) – I loved it so much, I had to grab it.
The cart had great lines, was very sturdy, and I especially loved that it was on wheels and he’d be able to maneuver it easily! As you can see, it was a little too tall for my son. I wanted it more closer to his waist than his armpits! And Yes! We’ve got the 3 C’s covered… Camo, Cargo’s and Cowboy Boots ![]()
So the first thing I did was remove the castors and cut about 3 inches off each leg. Then I reattached the castors. Next I figured how tall the back wall should be. I used (2) 1″ x 3″ ‘s for the back support, which I cut to 48″ I really like the peg board look, but the thought of my son and peg hooks is actually quite scary… So I decided to use 1″ x 4″ lumber for the backboard instead. The cart measured 24″ wide- so I then cut 4 pieces of the 1″ x 4″ s to 24″. Using a drill and wood screws, I attached the 1″ x 3″ ‘s to the two of the carts legs- as a support for the backboard. Next I attached the (4) 1″ x 3″ ‘s to the front side of the two back supports I just attached. Easy Peasy!!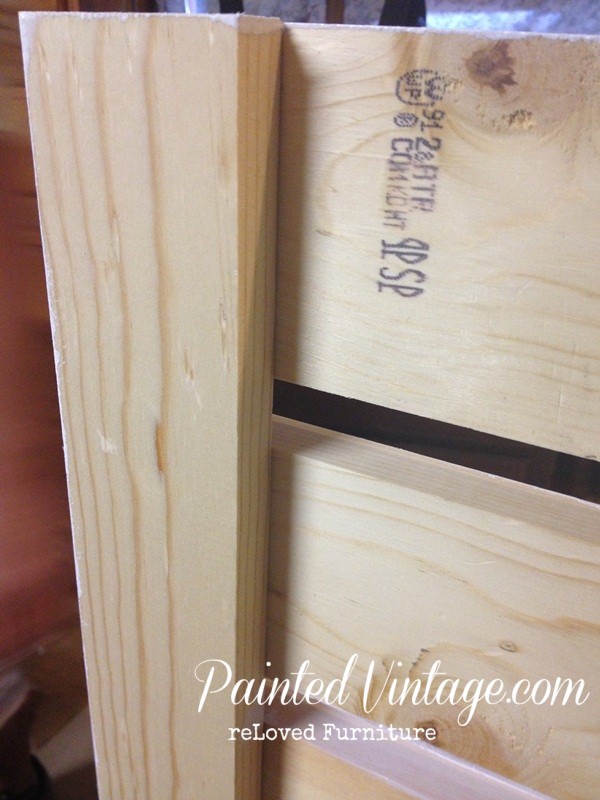
Here’s the view from behind after it was all assembled: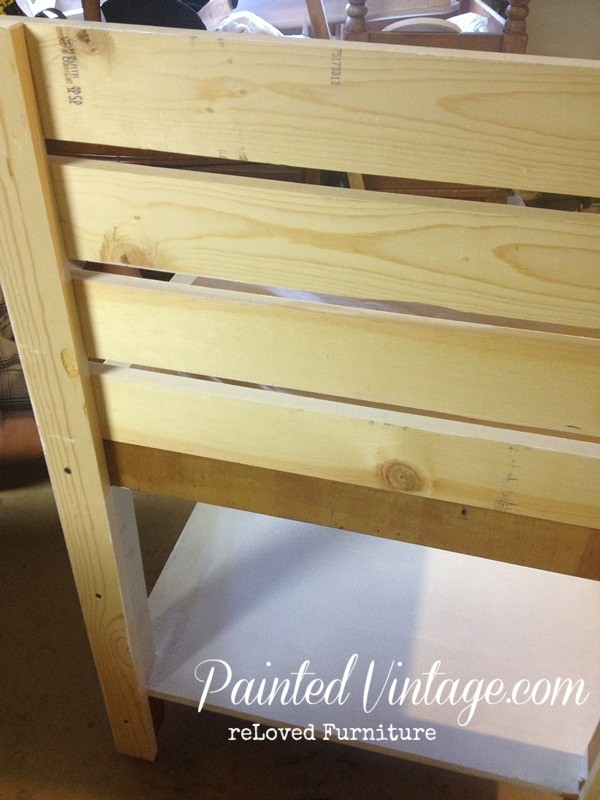
Time for painting! I let my son pick the color, and he chose an almost pastel green. I tried to get him to go a little darker, but hey! At least it wasn’t pink… I primed the cart and the new wood with an oil based primer. I also top coated it with an oil based paint, because my sons pretty rough and needs a durable finish.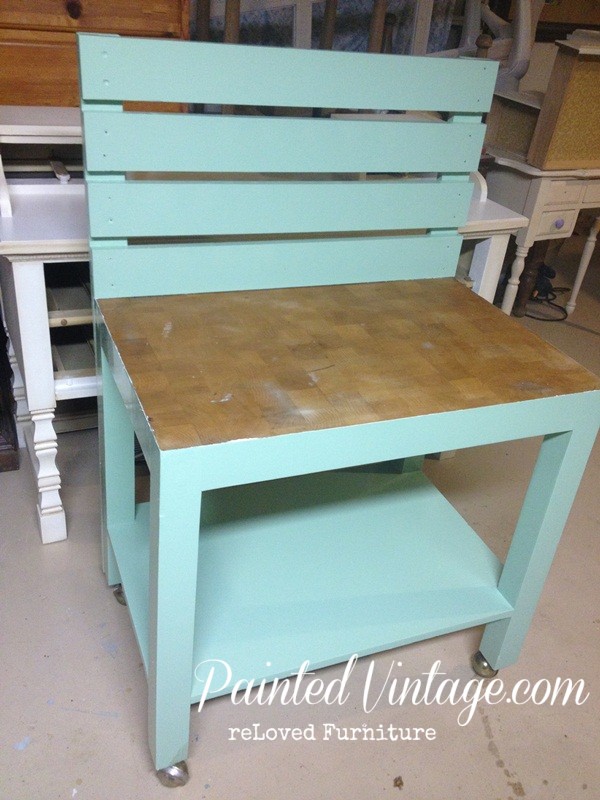
After the paint was dry, I attached various sized pipe straps to the backboard to hold his various tools. I also added some cup hooks and a few simple screws for hanging goggles, hard had, apron and what not.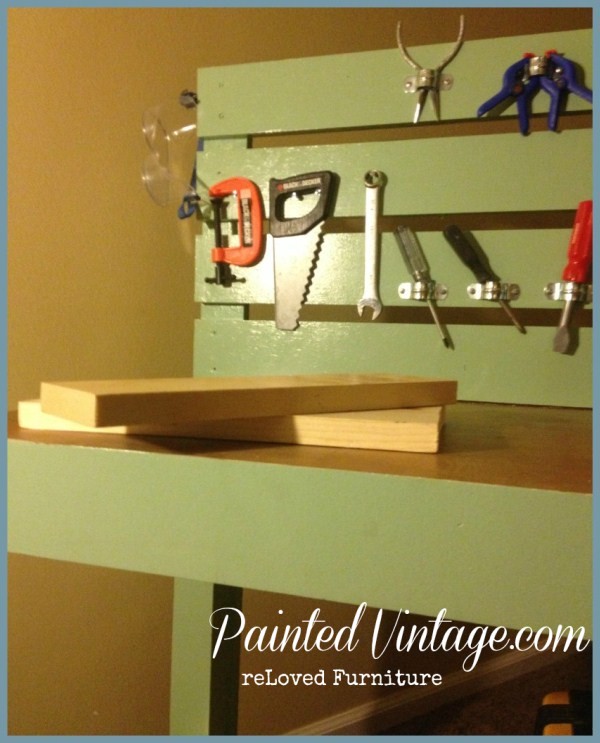
I was able to complete most of this project in an afternoon. Waiting for the paint to dry took the longest!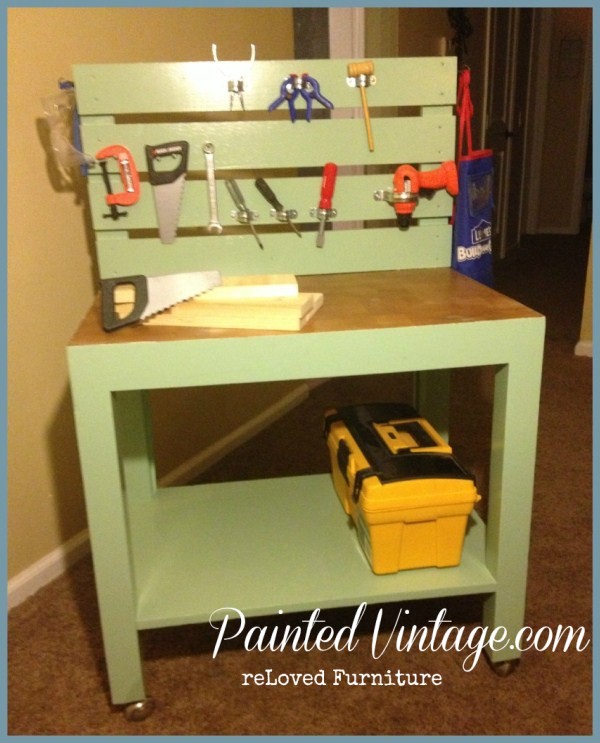
Here’s a look back at the before and after!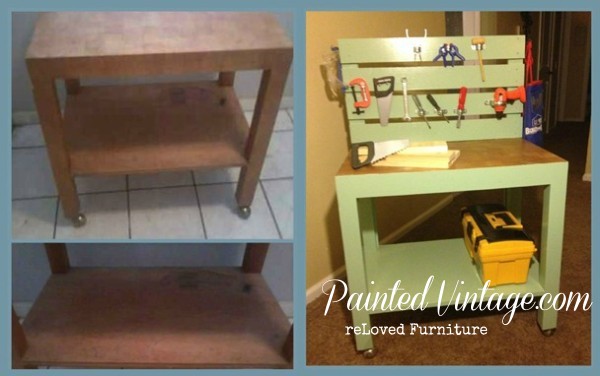
I hope you enjoyed this quasi tutorial on my DIY Kids Workbench! I’d love to hear your feedback or about any play workbench you may have created!!
Google+


Leave a Reply