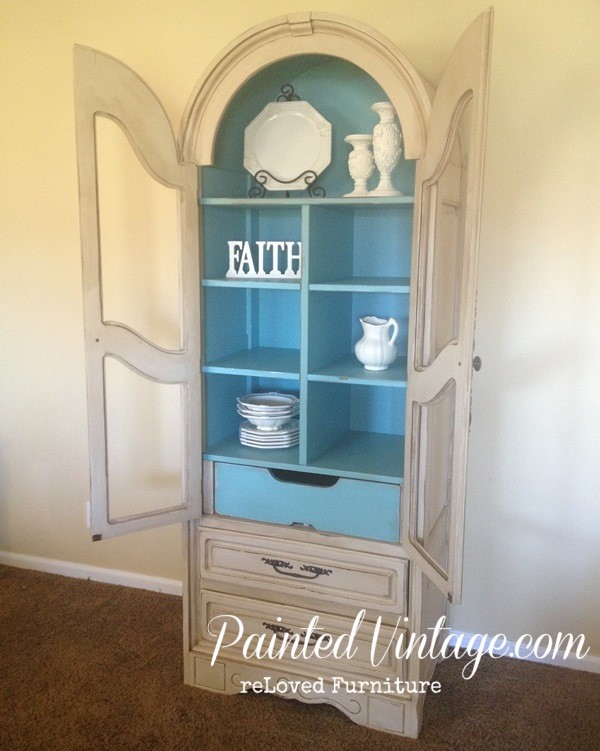
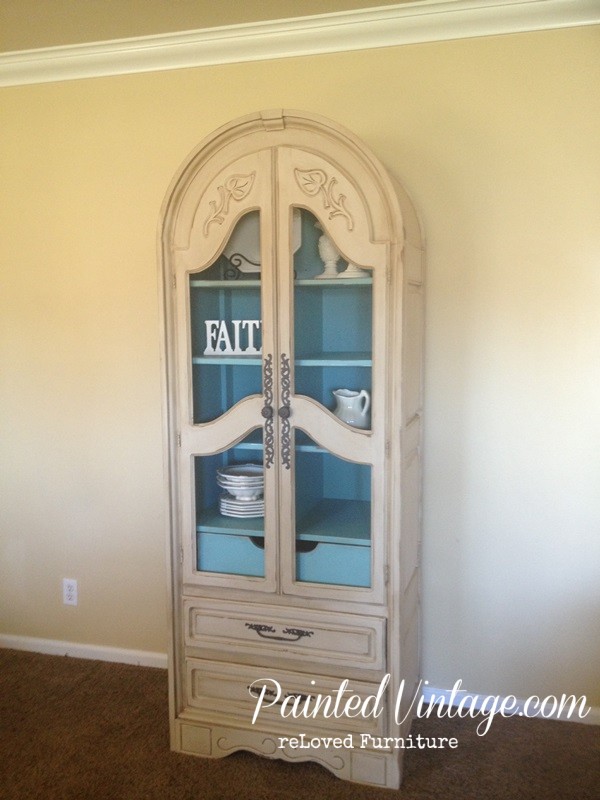
The Never Ending Project!! Finally, I get to share my hutch makeover with you guys! Maybe you remember, I started this back at the end of January. You can read that post here. I thought I would never finish, but here it is, my Hutch Makeover Reveal!!
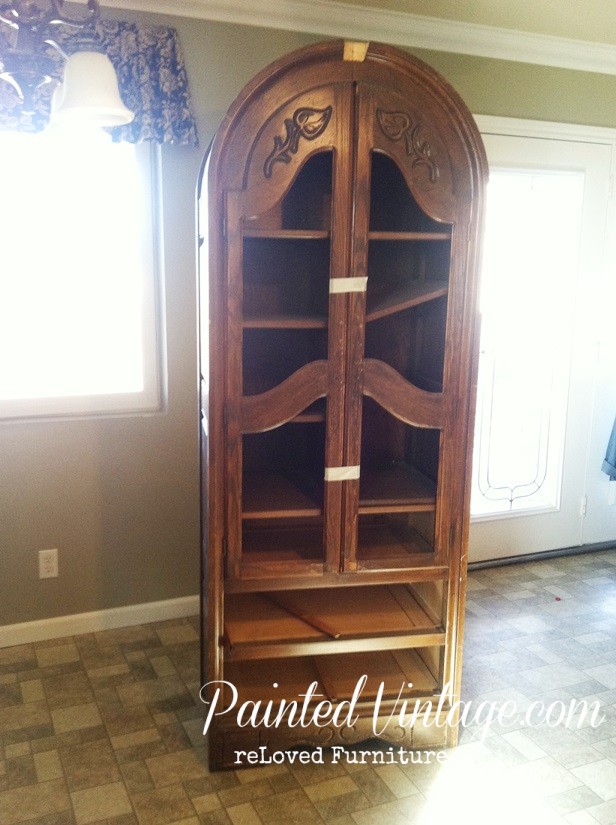
When I started this makeover, the weather was too cold, and too rainy, and then too windy, and finally too sunny to work in my little workshop. (Remember, this thing took me about two seasons to finish!!) So I had to improvise with my kitchen. Sorry for the crappy pictures, but the lighting in here is horrible.
After I removed the drawers and the hardware, the hutch kind of reminds me of a hockey player with a broken nose! …I shall name him Lidstrom!
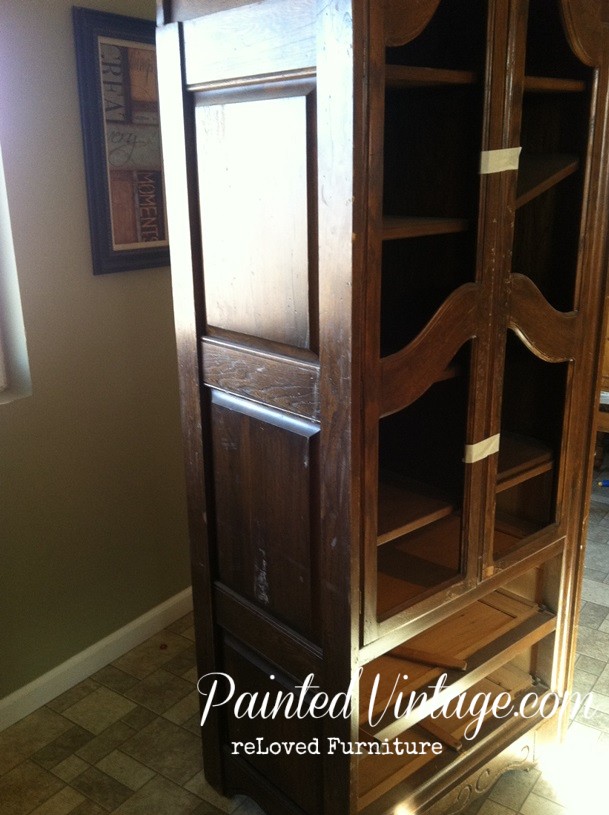
The side view.
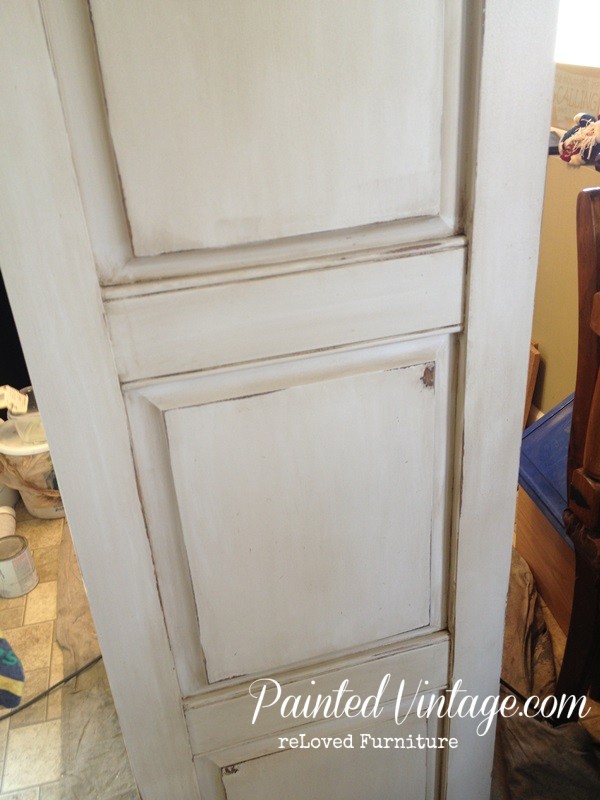
After sanding and cleaning with liquid TSP substitute, I primed it with Zinsser Cover Stain. I LOVE this fast drying oil-based primer! It is my go-to primer for almost all applications. It really looks better already!!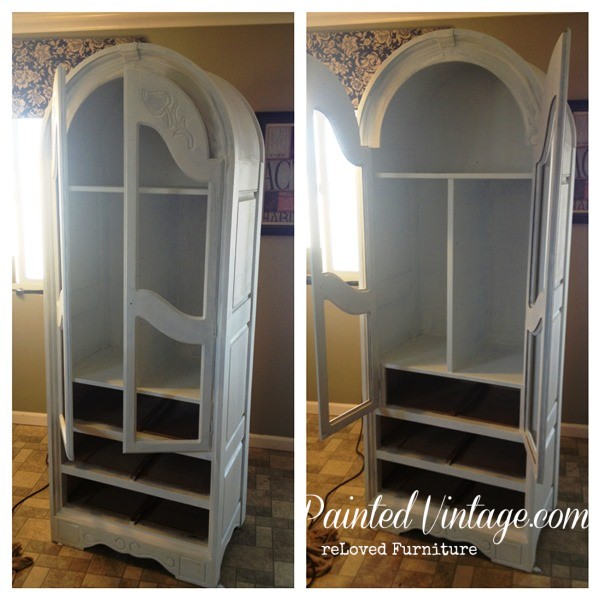
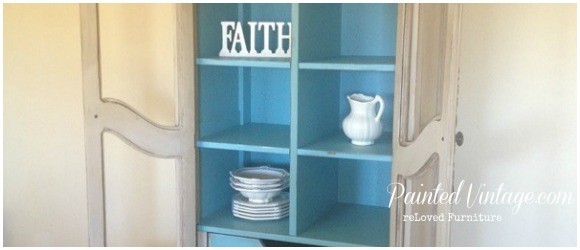
After the primer dried, I painted two coats of a creamy low sheen paint. I really wanted the inside to have a contrasting pop of color! At first I was envisioning an burnt orange, or maybe some sort of modern geometric pattern in a bright color… In the end, I went with this gorgeous shade of blue. Its Sherwin Williams 6486 Reflecting Pool and I think it compliments the cream perfectly! 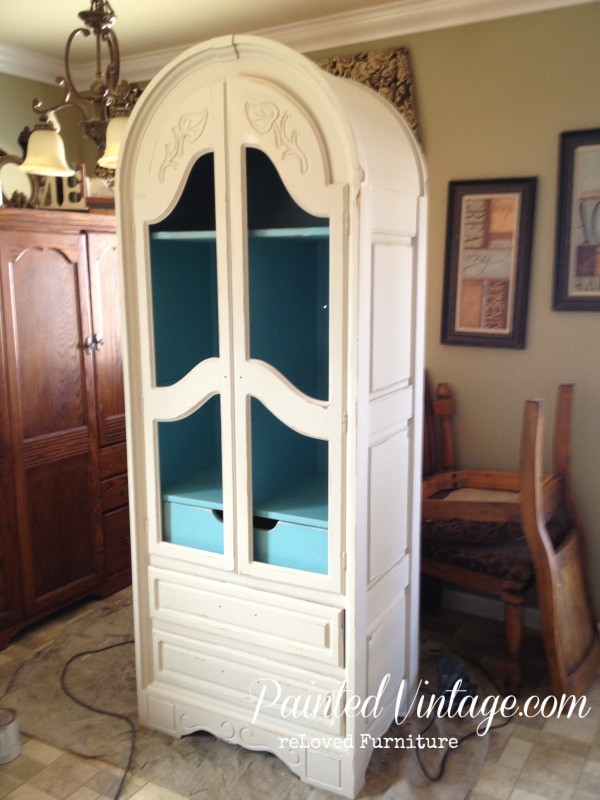
After distressing, next came the glazing! For this project, I opted for Rustoleum Transformations Decorative Glaze in Java Brown. I like working with this glaze because it has a pretty decent “open time” which is the amount of time you have to work with the glaze, before it begins to dry.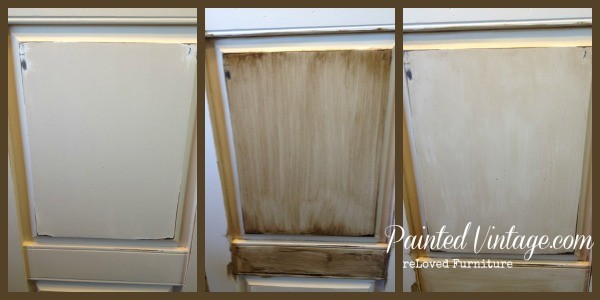
Then, I repainted all the original hardware, to a nice dark chocolate color. I really love the contrast of dark handles on lighter furniture.
I was so excited… I couldn’t wait to take pictures!! Please note: This is usually the final step, but hey, I’m a rebel like that…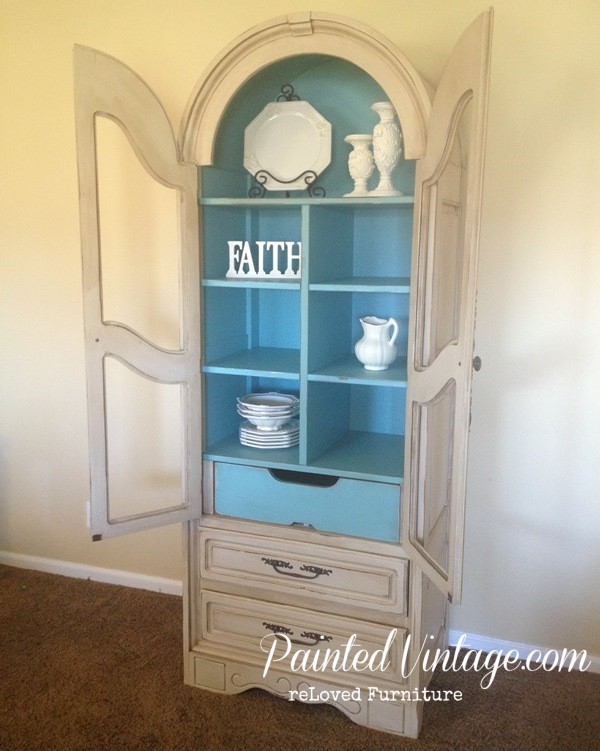
I loved the way all the white ware looks against that blue background!! (Sigh) I’m in deeep love….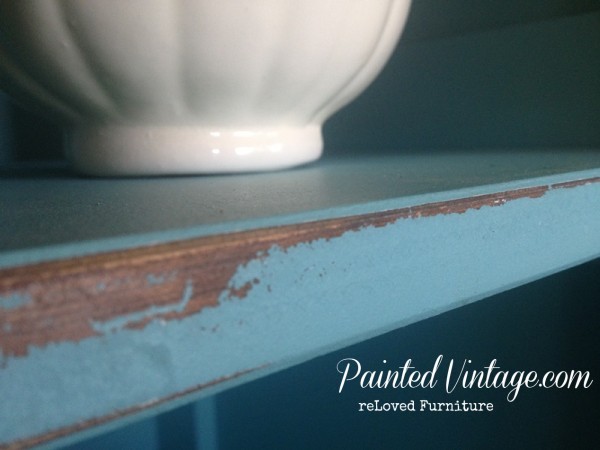
OK, after I cleaned all the white ware out of it, it was time to install the chicken wire on the doors. At some point, this piece had glass in the doors, but that was long before my time. I made a template and cut the perfect pieces of chicken wire, and painted them to match the brown hardware. I fitted all the chicken wire into the glass groves, using this official chicken wire stuffing tool…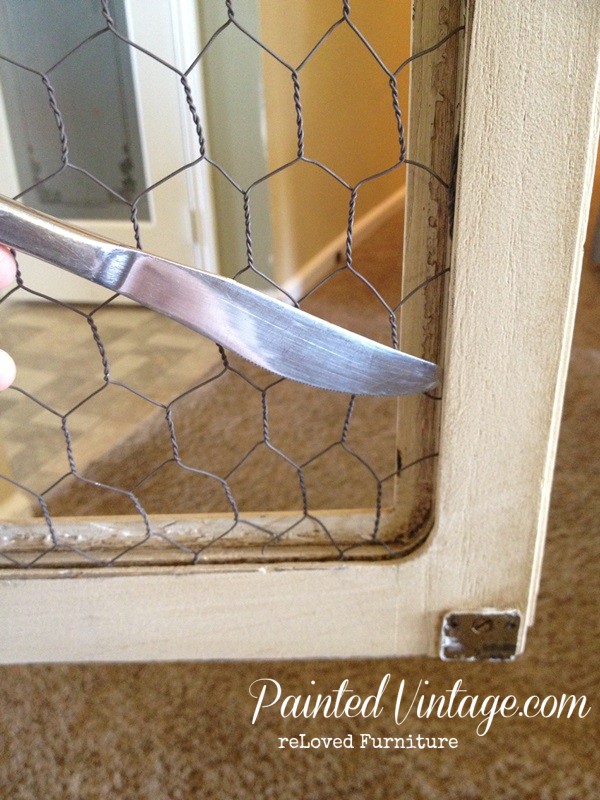
The only problem, was there was no way to attach the chicken wire without splitting the wood. The molding around the “window” frames was so thin, even using the smallest 1/4″ staples was not going to work! So I had to ditch my perfect panels, and line the back of the doors with the chicken wire instead… And here is the Hutch Makeover Reveal with the updated doors!!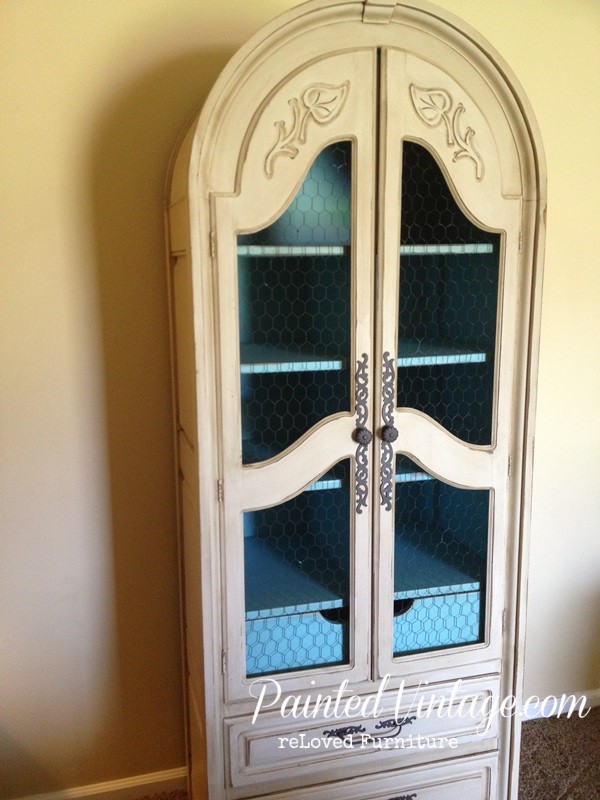
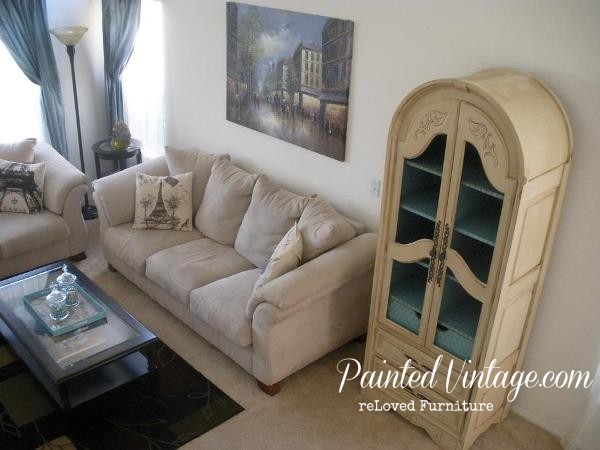
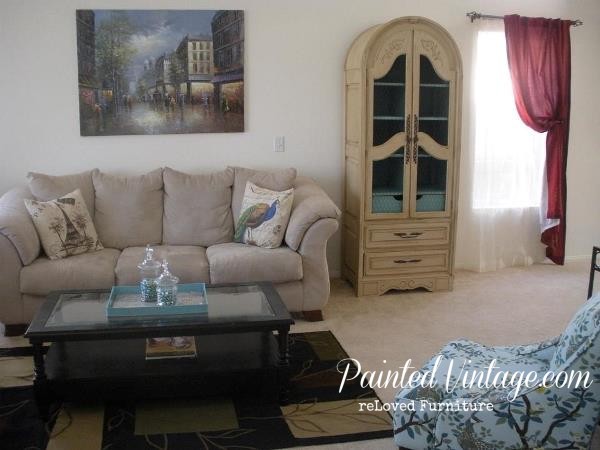
And here is Lidstrom in his new home ![]()
If you enjoyed this reLoved Hutch Makeover, please subscribe to my blog! <3



When you sanded your hutch….did you take it down to raw wood? (You can see I’m brand new at this.) Also, you PAINTED the hardware….what exactly did you use (something specific for metal?)? I LOVE your site and your work. Very happy I found it!!
Wow!!! I LOVE that hutch transformation!!!!!!!! I’d love to do that cream tone on an old coffee table I have kicking around. What colour paint did you use for your ‘creamy white’, if I may ask?
Yes, you may!! It is 7554 Steamed Milk, by Sherwin Williams.