With fall decorating well underway, I know I’m falling way behind this year. I see all the gorgeous fall decor ideas on Pinterest and Facebook. I’m loving the white pumpkins, burlap wreaths and all the autumn colors! So with one of my favorite seasons passing by, why am I on the late train??
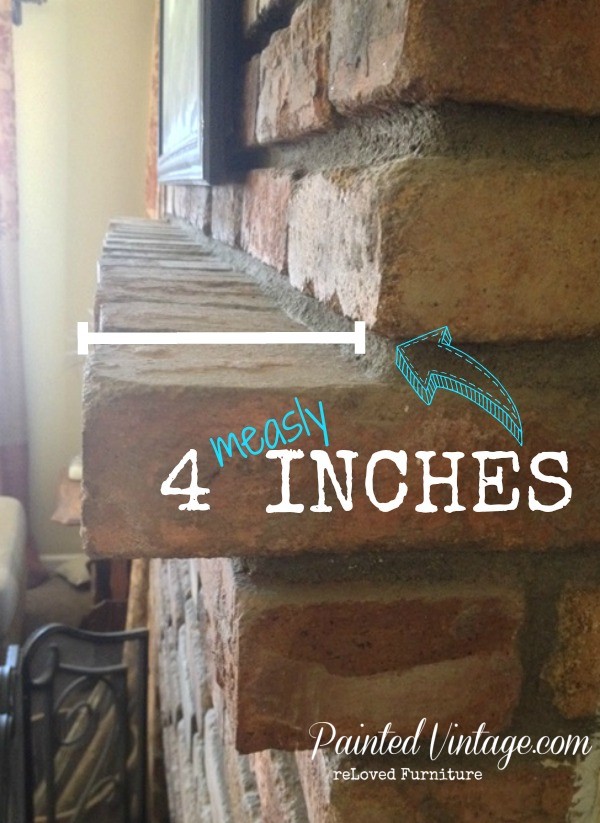
4 inches.
That’s my excuse.
4 measly inches. The depth of my fireplace mantel.
Yes, I’ll admit, I have Mantel Envy.
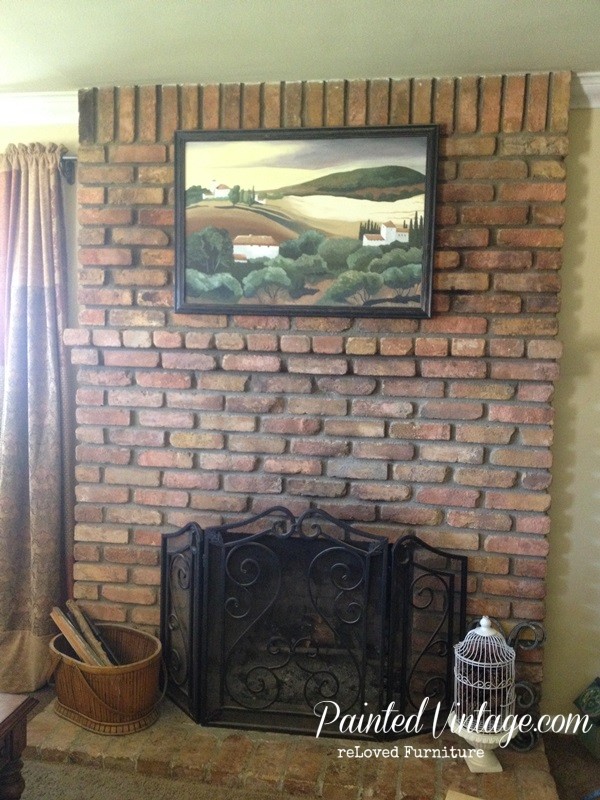
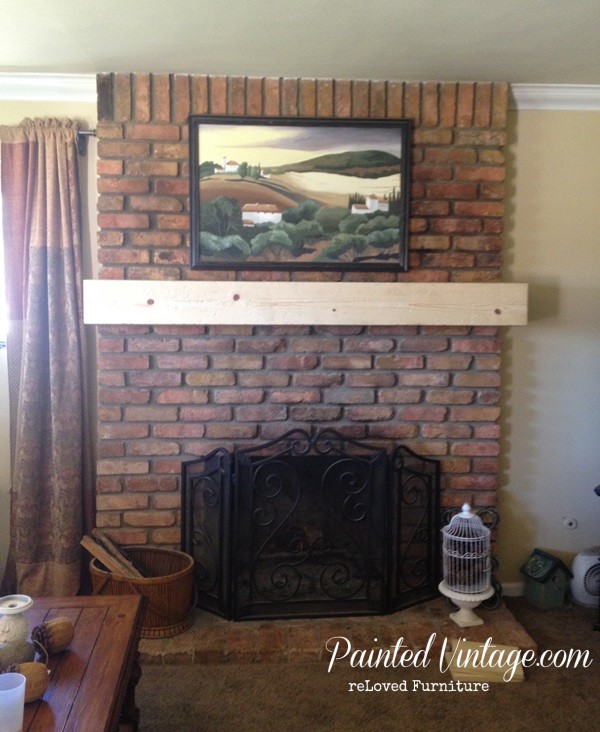
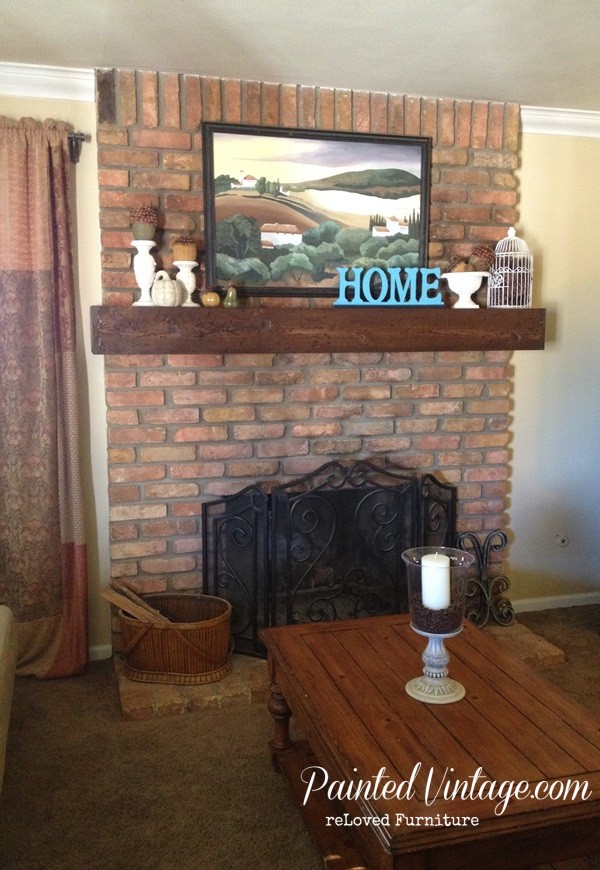
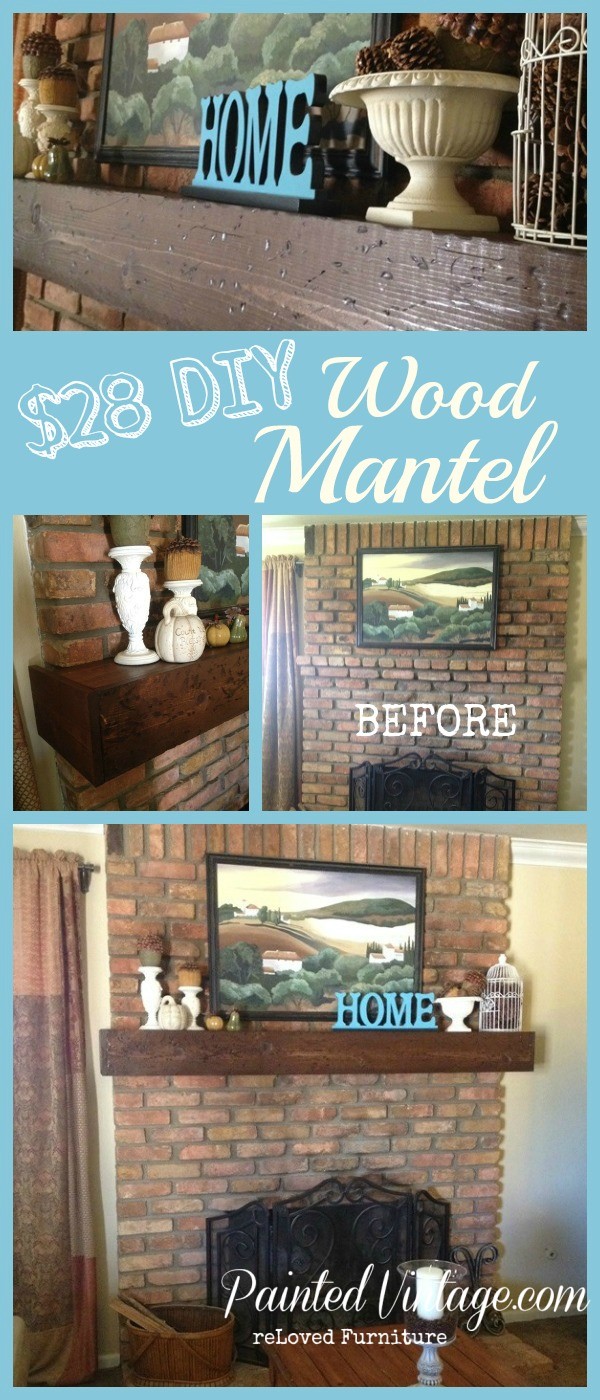
Here she is. Plain Jane.
I know, you can hardly even tell there is a mantel there. But it’s there… all 4 inches.
You know what fits on a 4 inch mantel? Nothing!
DIY Wood Mantel
For sometime, I’ve had this idea that I could build my own wood mantel ledge. I figured I could just build a simple wood box, and slip it over the existing mantel. And YESSS!!! It worked!!
I used 1″ x 8″ lumber for my mantel. Here is the supplies I used. If you’d like to try to build your own wood mantel, be sure to adjust the measurements for your space.
- (2) pieces of lumber @ 1″ x 8″ x ___ the width of your existing mantel. This will be for the top and bottom of the mantel.
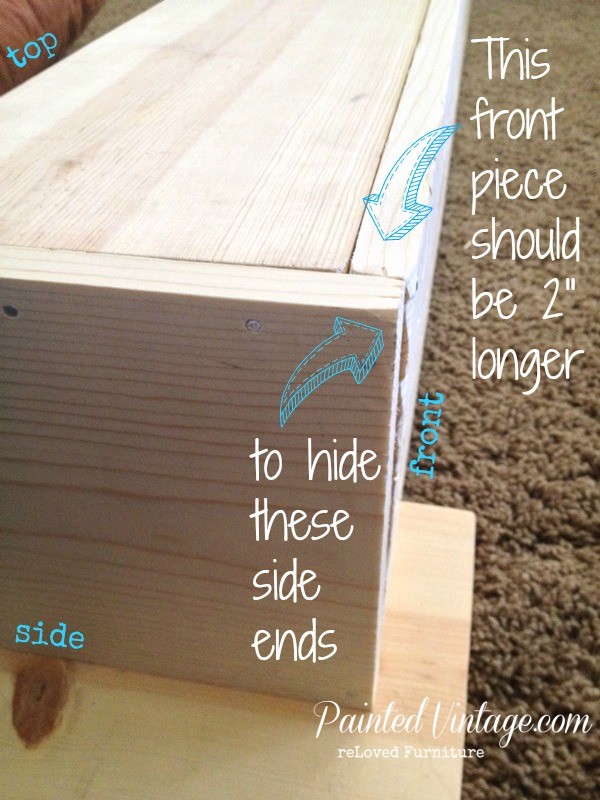
- (1) piece of lumber @ 1″ x 8″ x___ the width of your existing mantel PLUS 2 inches. I made the mistake of cutting all 3 pieces to the same length, but you’ll need one piece of lumber 2 inches longer across the front of the mantel, to hide the side pieces.
- (2) pieces of lumber @ 1″ x 8″ x___ the depth of your mantel to the wall. These will be the side / end pieces.
- wood glue
- finish nails / wood screws
- wood stain
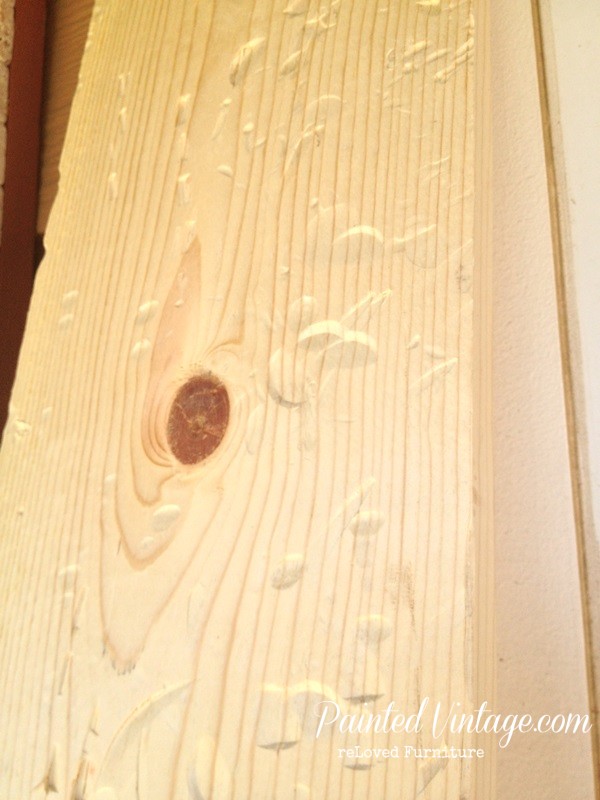
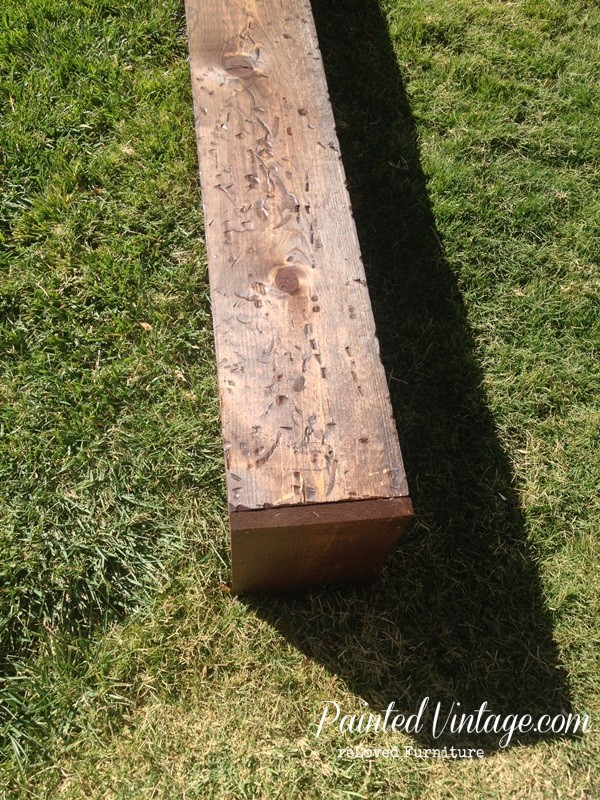
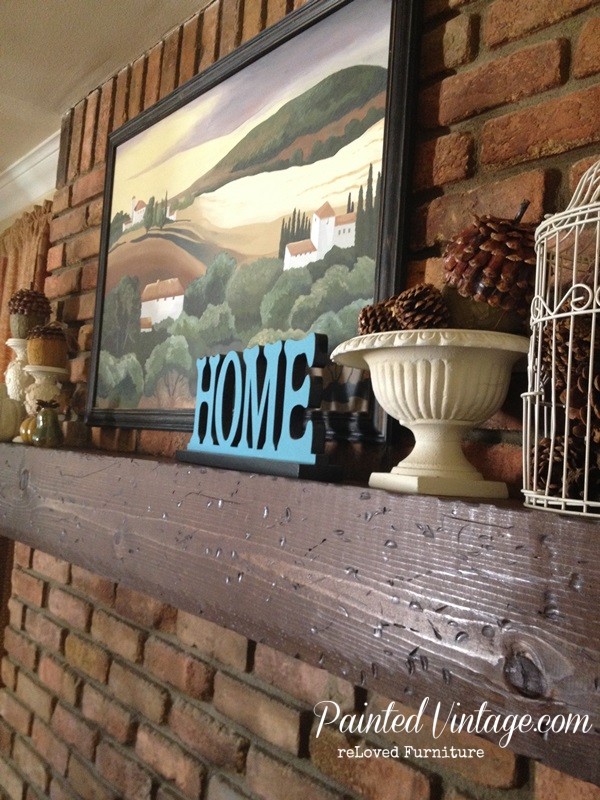
I really wanted my DIY Wood Mantel to have the appearance of a distressed wood beam. So my little partner, Noah and I used hammers, screw drivers and chains to mark and scar the wood.
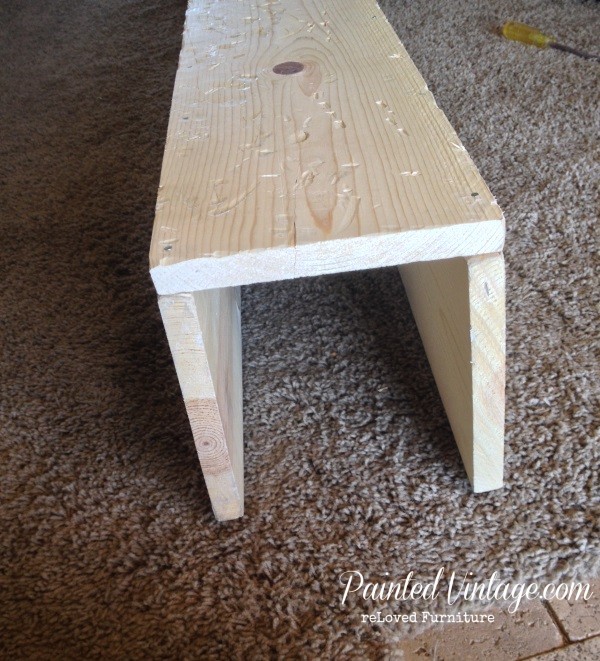
Then we used wood glue and finish nails to start building the mantel box.
Then we added the 2 smaller side pieces. Here is where I realized my mistake in cutting all three of the longer pieces to the same length.
The front piece of wood should have been 2 inches longer to hide the edges of the two side pieces.
I was so excited at this point, I did a dry fit, to make sure mantle cap fit over the existing brick mantle. So far, so good!!
Once I knew everything fit together nicely, I went ahead and added wood screws, because the finishing nails will pop out easily.
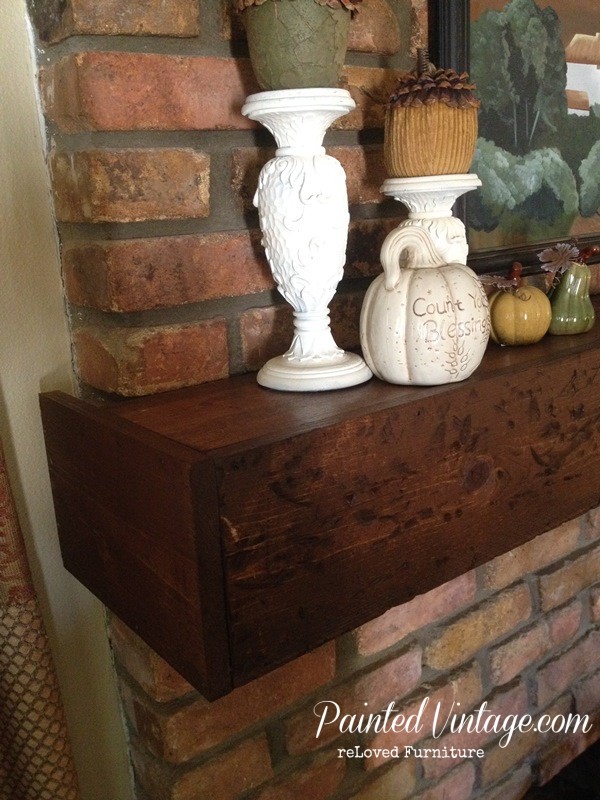
Then it was time to slap some stain on. I love how the stain really helps accentuate the distressing!!
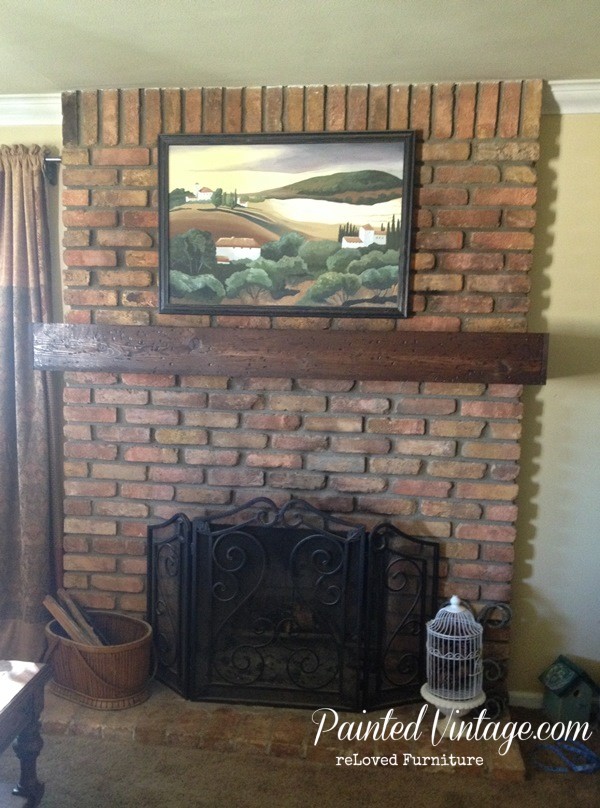
After the stain was dry, I put the mantel box back on.
BONUS: This DIY Wood Mantel fit over the brick mantel so snugly, it required no anchoring or gluing. Which makes this a perfect project for renters, as it can easily be removed with no damage to the existing structure.
I am so happy and proud of how my mantel makeover came out! I can’t believe how easy it was! Seriously, if me and my 5 year old son can build this, so can you!
Is it perfect? No.
Do I love it and do I wish I would have done this years ago? Heck Yea!
My total project cost here was 28 bucks. All I needed to purchase was the lumber, as I already had everything else. But the thrill of a 28 dollar cure for my mantel envy is priceless!!
Now… Let the Fall Decorating commence!!
Sharing this post at:




Love the color! What stain did you use?
Hi i am Gladys I love your idea looks great!!! I am remodeling my kitchen & we took this wall down to make the room bigger, In the mean time we had to put a support beam……your idea is perfect!!! Now i can make it look like it as always there!!!! Thank you
Thank you! I am going to do this to my concrete mantel that is so ugly. the best part of this is you just slip it on. Thanks again for a job well done.
I have the same mantel as your old one! 4 inches… unreal… I’ll be doing this this week. Wish me luck.
Ah.. Good Luck!! You can do it!!
Thank you! I have the same issue and could not figure out how to do this. Will be covering mantel this week.
Looks fabulous! We will be doing this next weekend. I was going to order a faux mantel…to the tune of almost 800 bucks! Yours looks just as good & we can do the same thing, just build a “box” & slide it on to our brick.
Awesome Kristy!! Yes, that is exactly what I did!! Good luck with your project!!
I think your mantel redo is fantastic. I have been thinking of doing something similar in my family room. Thanks for the inspiration.
Traci
That really looks fantastic. It will add value to the home too! I love it. I’m so inspired by you! Thank you!
Oh, that’s so sweet! Thank you Mary