I’ve been asked a few times How to Paint Stripes on furniture. So today, I’d like to share my painting technique for crisp lines with you guys!
Please note: this is my technique for painting stripes on smooth surfaces, like furniture. I have a different technique for painting stripes on textured walls.
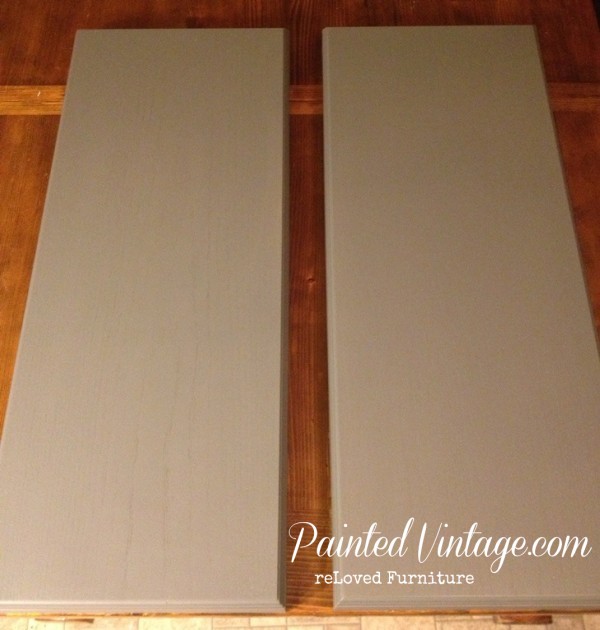
First, you’ll want to figure out your color scheme and the dimension of your stripe pattern. Then, you’ll want to start with a base coat that is completely dried. I recommend letting the paint cure for at least a few days before applying any tape on top. I started with a dark grey.
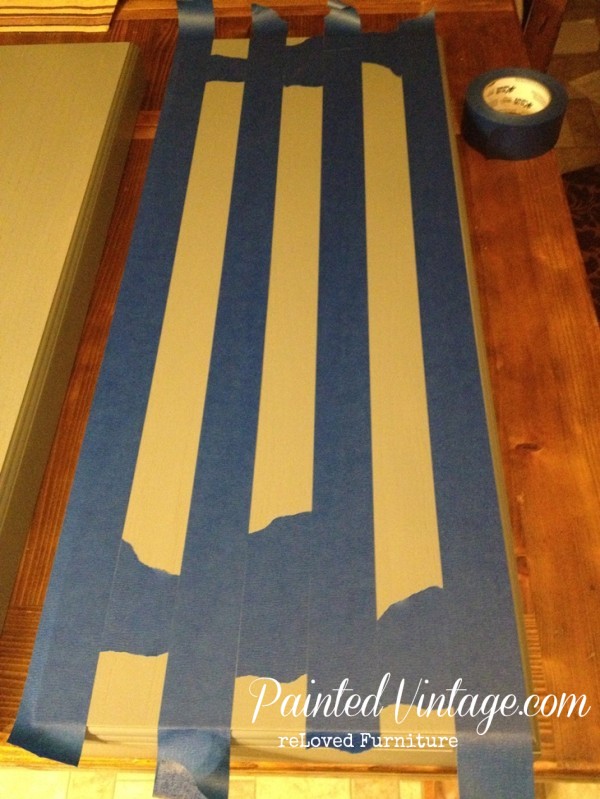
Once your base coat is completely dry, layout your tape pattern. I like to use blue painters tape because of it’s medium adhesion, although I think they call it “multi-use tape” now… (Hmm… do they even make regular old masking tape anymore??) Anyway, make sure the first line of tape is absolutely straight, or it will throw off ALL the stripes. Then use a small piece of tape as a guide for where to apply the next strip. Make sure the edges line up perfectly.
This is were your could get really creative with your pattern. Alternating tape sizes, and adding in a few more colors would be fun! But for this project, I did really simple 2″ stripes in light grey over dark grey.
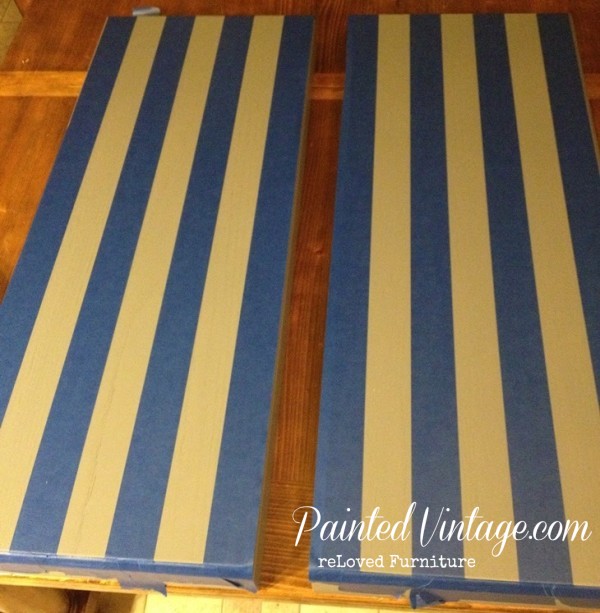
Once you have your pattern laid out, it should look something like this.
Then you’ll want to remove the smaller guide pieces of tape, because that is where your alternating color will be painted. You need to smooth down ALL the edges really good! I like to use my handy-dandy drivers license as a smoothing tool, because I have no thumbnails. But really take the time to make sure all the edges are good and tight.
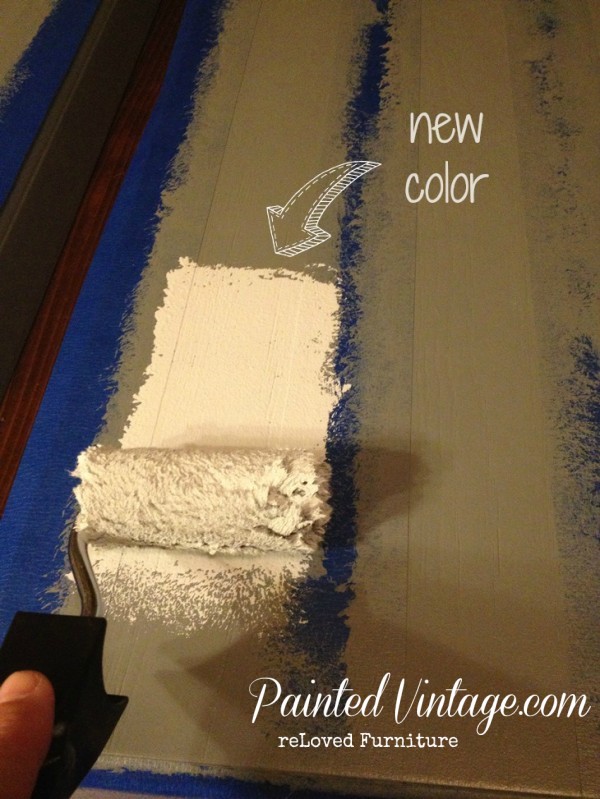
Before we get to painting the real stripe color, you will first need to repaint over the area to be striped with the base coat color. I know, I know, it’s already painted dark grey- what’s the point? Well, you asked how to paint stripes, and here’s the secret. Let’s face it…
Tape WILL bleed. It IS going to happen.
So instead of falling to your knees and crying out “Whhhyyy???” Just know and understand this will happen. Paint the base coat color where the new stripes should be because when the paint bleeds (which it will) the color that bleeds onto the base coat color, will be the base coat color. Therefor, you will not actually see the paint bleed. Genius!! 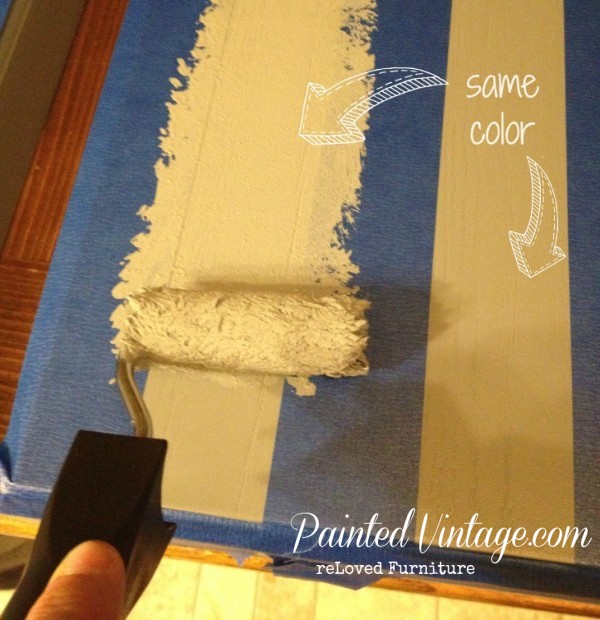
I only let this base coat color dry to the touch before I apply the real color over it. You need to try and work quickly here, but make sure that you have good, even coverage.
Just as a side note: My entire project is the darker grey color, which is why I chose that for my base coat and am applying lighter stripes over it. Otherwise I probably would have done it the other way around, and painted the darker stripes over the lighter base coat.
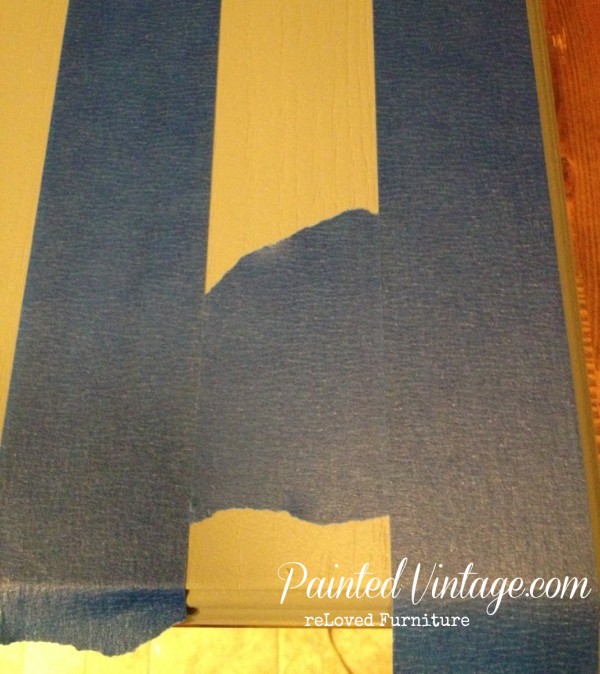
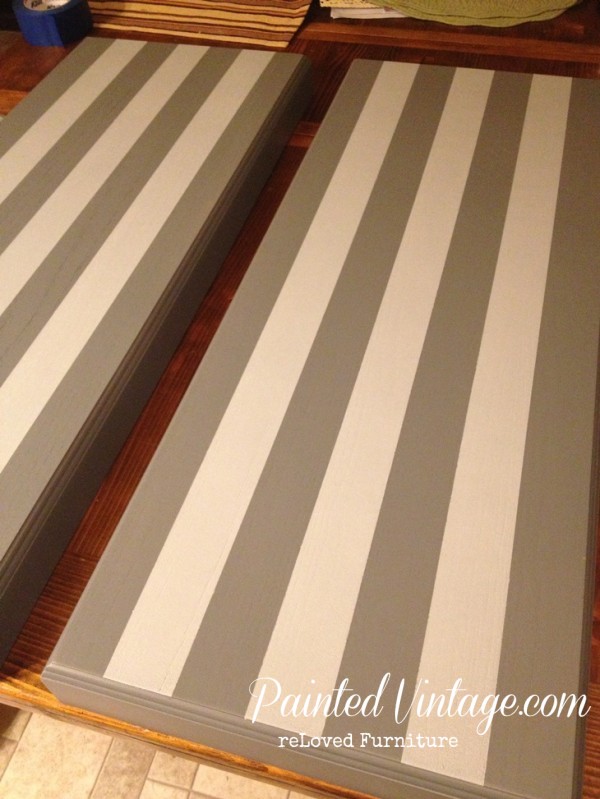
Now remember I said to work quickly here? You’ll want to remove the tape almost immediately! The paint will form a film as it starts to set up, which will tear when you remove the tape, leaving a jagged edge. Work in sections if you need to, but the tape HAS TO come off while the paint is still wet! Once you remove the tape, your perfect stripes will be revealed!!
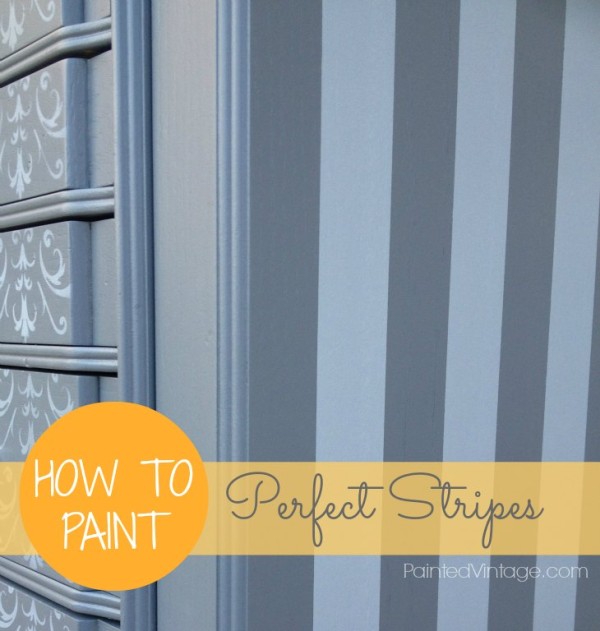
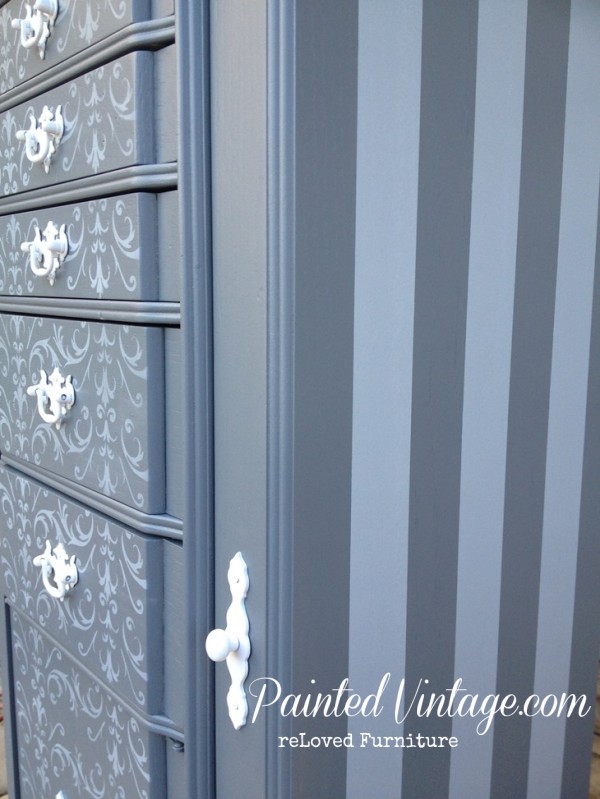
And here’s a little sneak peak of my completed reLoved furniture project, a jewelry armoire. Now you can see why I chose the darker grey as my base coat color!
You can read all the details and see more before & after photos of my Tracy’s Fancy Inspired Armoire by clicking here.
I really hope you enjoyed my tutorial on how to paint stripes. I’d love to hear your feedback! Have you tried this technique? Do you have a different technique?
This post shared on:



Hi Sherri! Enjoying your blog.
I’ve always found the blue tape quite frustrating.
I recently painted stripes in the grandson’s nursery using the green frog tape and found it works amazingly well. Just thought I’d put that out there.
Thanks Kathleen. I like the frog tape too!
Hello from Sydney Australia. Annie Sloan Chalk paint has not long hit our shores and I am loving using it to paint furniture. I have just read your how to on painting stripes and plan on tackling this tonight (first time for me painting stripes…eek). I just wanted to say thank you for your clear tutorial. Hope my work looks as stunning as yours. Thanks again Kylie
Oh thank you, Kylie! I’m glad you found the info useful! Good luck with yours, I’m sure you’ll do fine
Thanks so much for the tutorial!, you have encouraged me
I’m glad I inspired someone!! Thanks Suzanne!!