So you all have heard of Engineer Prints, right?? Well, if not, get ready… because Engineer Prints are going to be life changing, literally! …well, maybe just for me. I have so many ideas swirling around in my head. But today I wanted to share with you the Engineer Print Chest I made for my mom for Mother’s Day!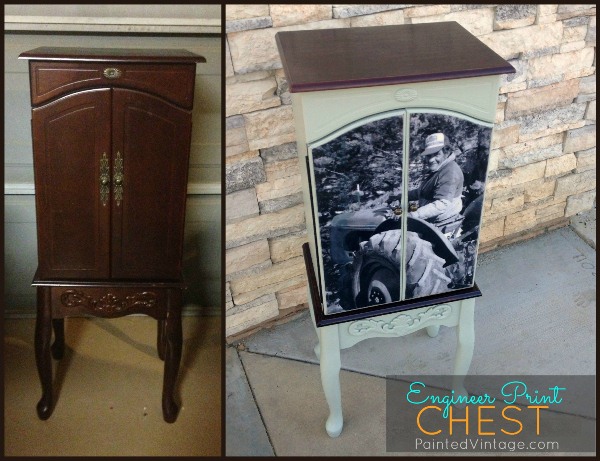
This is so exciting! So, first off, “What’s an Engineer Print?” you ask. Basically, its a (SUPER CHEAP) extra large black and white copy, designed for blueprints. I ordered mine on-line from Staples (here’s the special link) and it was ready for pick up the SAME DAY!!! For my project, I chose the smallest of the three sizes:
18″ x 24″ $1.79
24″ x 36″ $3.59
36″ x 48″ $7.59
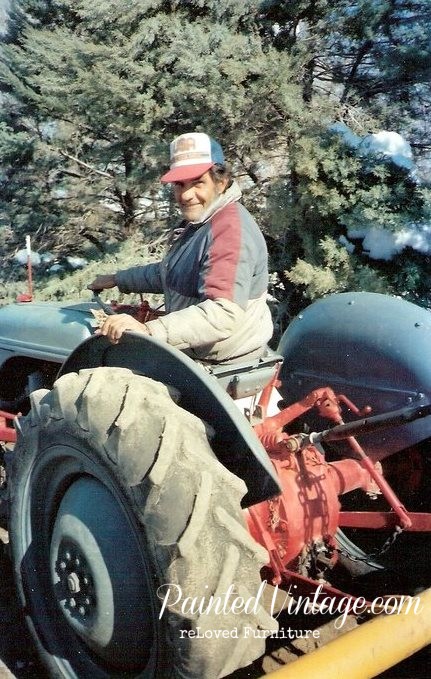
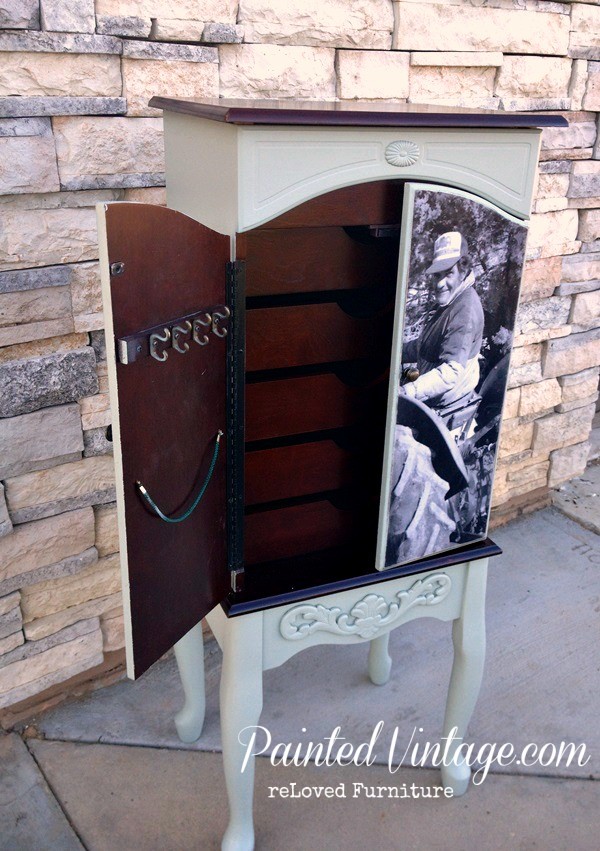
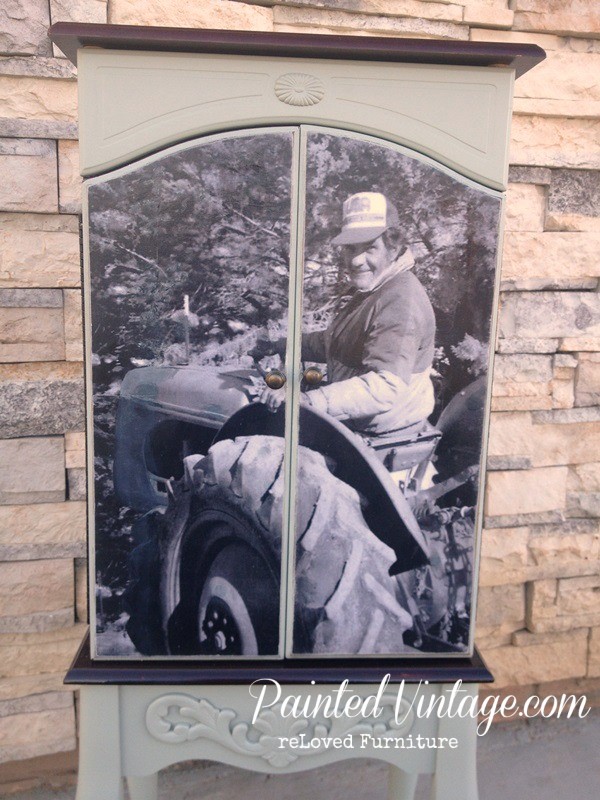
I really wanted to use this photo of my Grandpa Jerry on his tractor. I think I was in 3rd grade when this photo was taken. It’s a special picture, because my Grandpa LOVED his tractor!! It’s a Ford 8N, and I know this because my Grandpa taught me to count the lugs on the rear tires. His tractor has 8 lugs = 8N. (Which you can’t really use that as a rule of thumb, because the 8N replaced the 9N & 2N which had only 6 lugs- don’t ask me why I know all this useless info!) Growing up, I can remember riding all over The Acres’ on the fender of that tractor! In fact, when I was about to turn 16 and getting ready to take the exam for my Driver’s License, my Grandpa made me practice for hours on his tractor! It would always pop out of reverse- but still, I could parallel park that thing like it was nobody’s business!
OK, back to this… When you upload your photo to the Staples website, it will warn you the print is not suitable for photos. Mine was just a copy of a photo I stole from my moms FaceBook, and I think it turned out fine! However, for best results, I’d recommend a high resolution photo, especially, if you are planning on ordering the larger sizes, as I can see where that may have been a problem.
I took all the doors off to prime an paint the armoire. Which I sprayed with my little Graco HVLP, and yes, it was dark. I decided to leave the vertical surfaces, and the interior in the Cherry finish, as I thought it would compliment beautifully with the green shade I chose.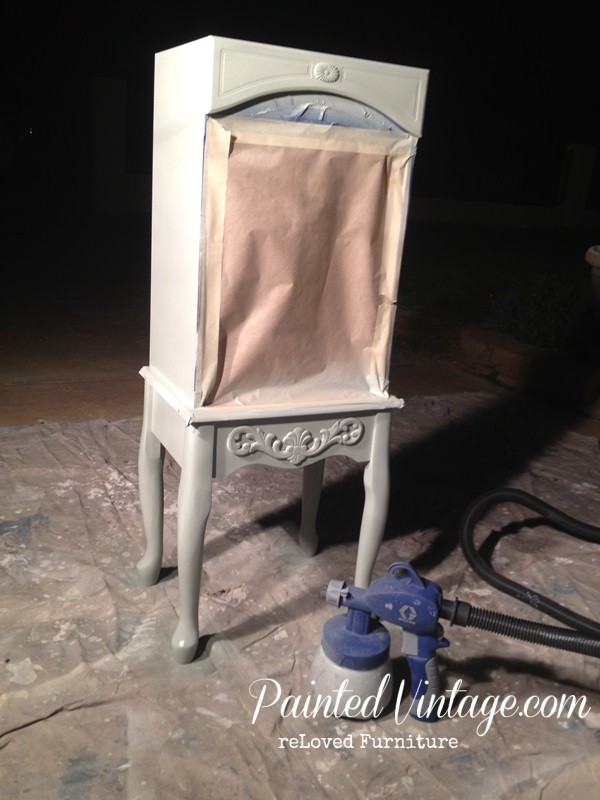
Then I put my little helper straight to work (dressed, of course in the appropriate painting attire) so I could get back to lounging poolside, enjoying a foot massage and a gourmet Michelada. 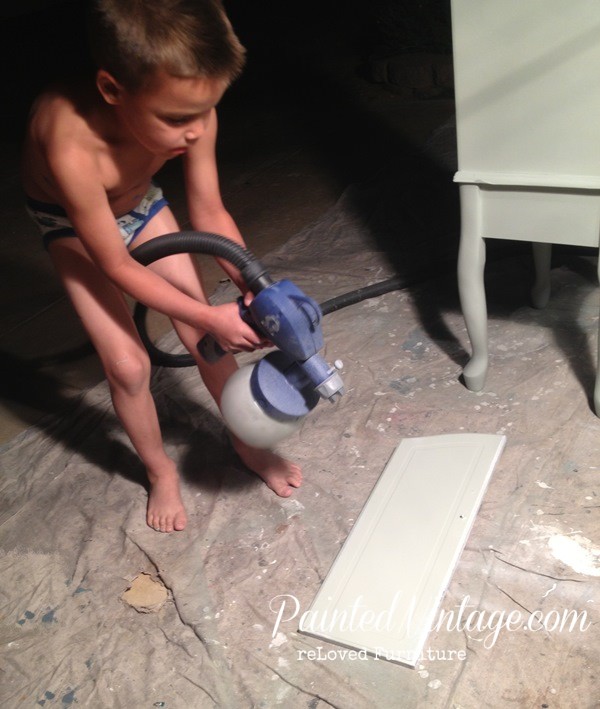
Once he was finished with all the hard work, it was time for the fun part!! Here’s what the Engineer Print looks like, next to the armoire doors. You can see it was plenty big enough to completely cover them.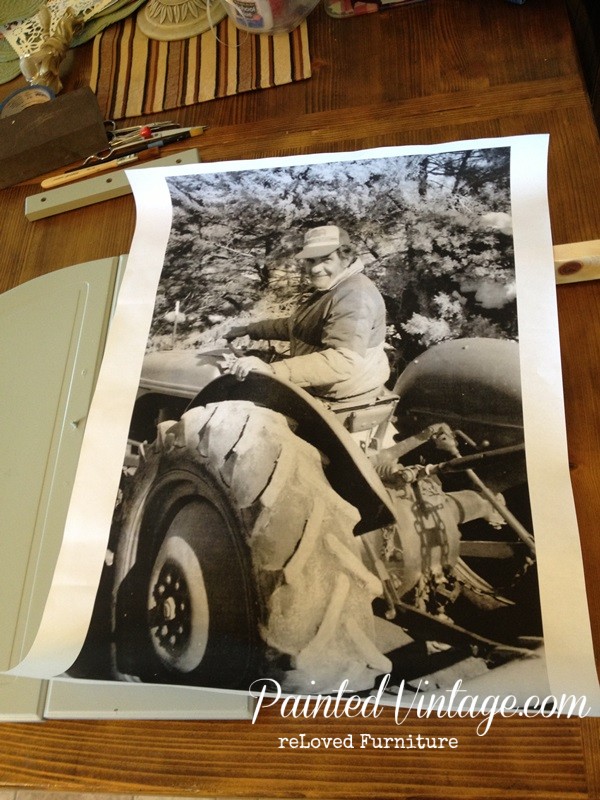
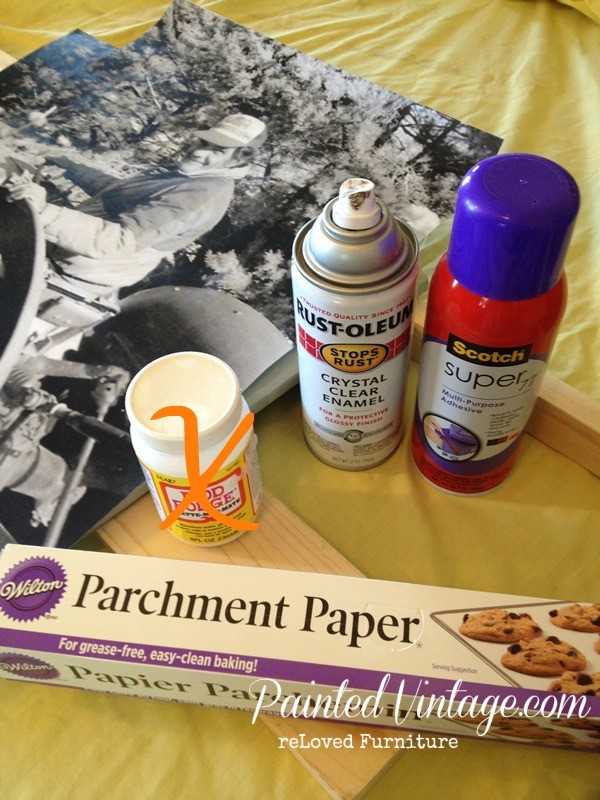
The supplies I used for this project were:
- Engineer Print
- Super 77 Spray Adhesive
- Rust-oleum Crystal Clear Enamel
- Parchment Paper / Wax Paper
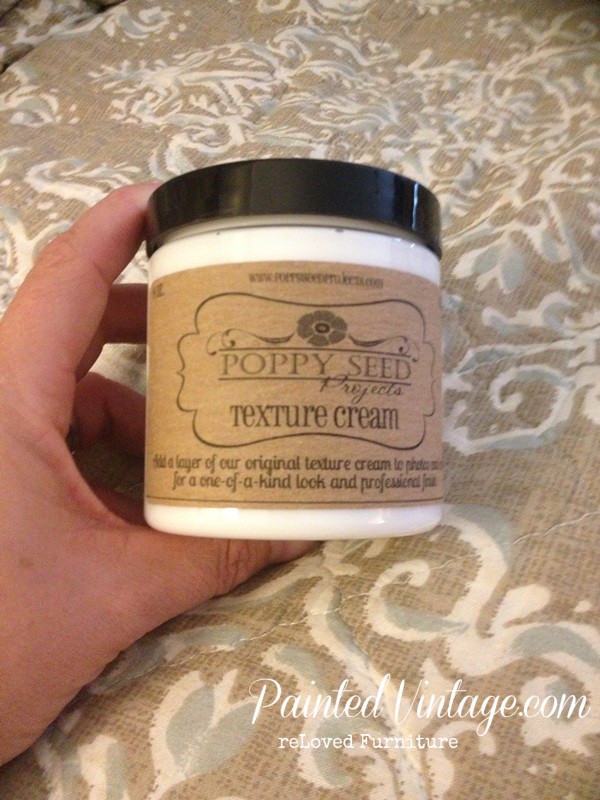
- Photo Texture Cream (not pictured) Note: I decided not to go with Mod Podge for this project, as I found Texture Cream to have a less wrinkling effect.
- Exacto Blade
- Credit Card or Vinyl Smoother
- Sand Paper
So first, I roughly estimated the placement of the photo on the doors and trimmed it, leaving about an inch excess all the way around. I had to pay special attention to the door seams and the knob placement. I didn’t want a big ‘ole brass handle in the middle of my Grandpa’s forehead!
Then I lightly sprayed the front of the Engineer Print with the Rust-oleum Crystal Clear. I wanted to “set” the ink so it wouldn’t smear and it also seal the paper a little to try and avoid any wrinkling.
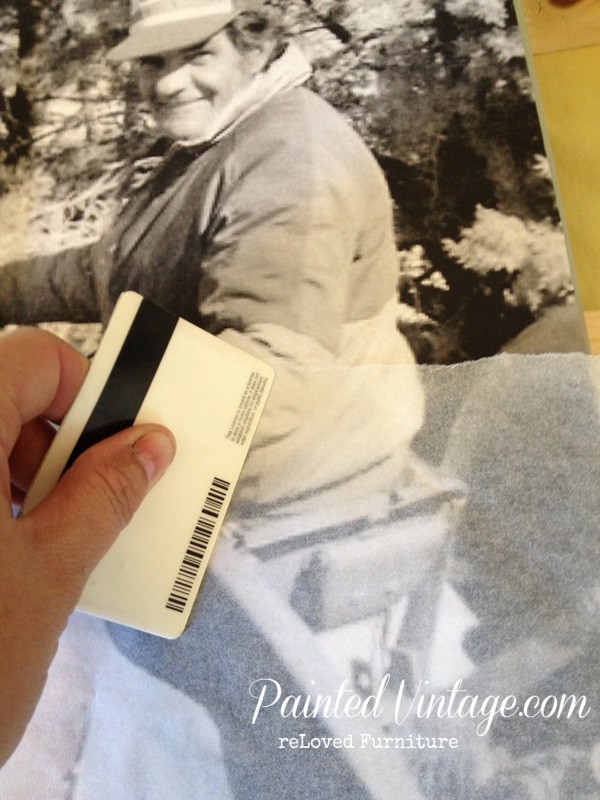
Next, I sprayed the armoire doors with the Super 77 Adhesive. I carefully lined up the Engineer Print in the location I wanted on the doors. Then I placed the parchment paper over the Engineer Print and used my drivers license to smooth all the wrinkles and air bubbles out. The wax paper protects the print from ripping or tearing during the smoothing process.
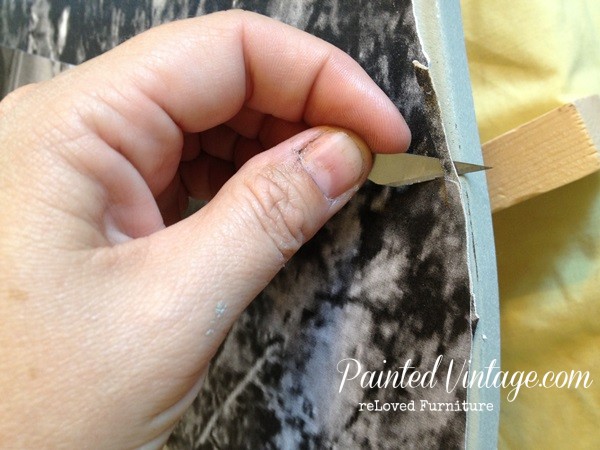
 Next, I used my Exacto blade to cut the door seam and carefully trim around the doors beveled edges. I sprayed another light coat of of the Crystal Clear. After it was completely dry, I sanded the paper edges to blend and smooth the cuts.
This is where you would normally apply Mod Podge over the top of your decoupage project. But because the Engineer Print is so thin, I was concerned with wrinkling. That’s where Texture Cream by Poppy Seed Projects comes in. There are no directions on my jar, so I looked it up on their website, which clearly states “Not recommended for use on photos printed from a computer printer” Being the outlaw that I am, that seemed like a green light to me!!
Working in small sections, I applied the Texture Cream in a crisscross pattern with a chip brush, and used the handle to immediately smooth any type of bubble or wrinkle I saw forming. 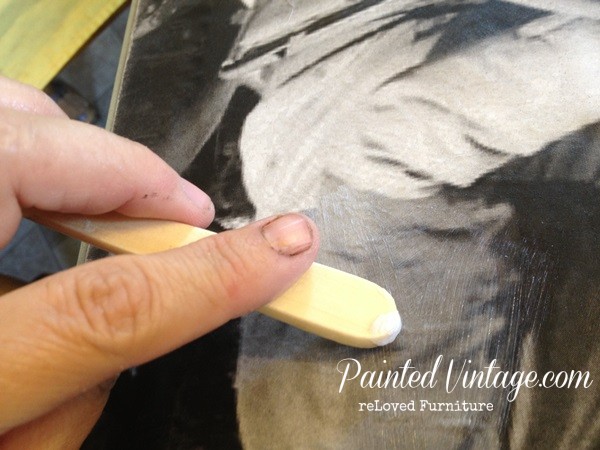
OK, I have a confession to make… I wanted the picture of my Grandpa to be off-center, so he would be mostly on one door and not cut in half. This could not be done because there was not enough image on the left side of the original photo. So I had to cheat it a little and use a scrap strip that was previously trimmed and hand painted part of the left door… See it? Not Painted = no tractor front, Painted = tractor front! I also blended in the trees so you couldn’t see the seam. Shhhh… don’t tell my mom, she’ll never notice!!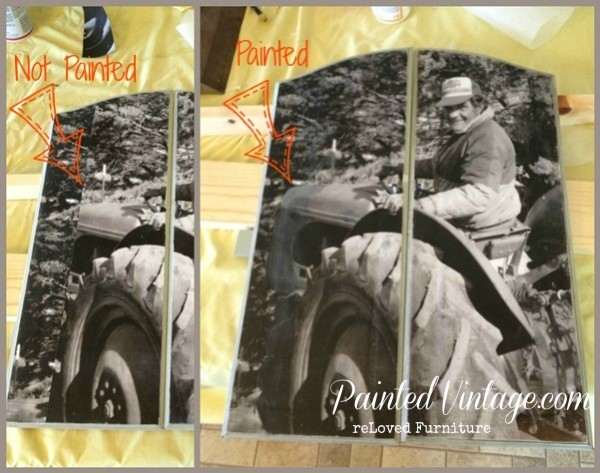
And here is the finished product! Not too shabby, and life changing? YES!!!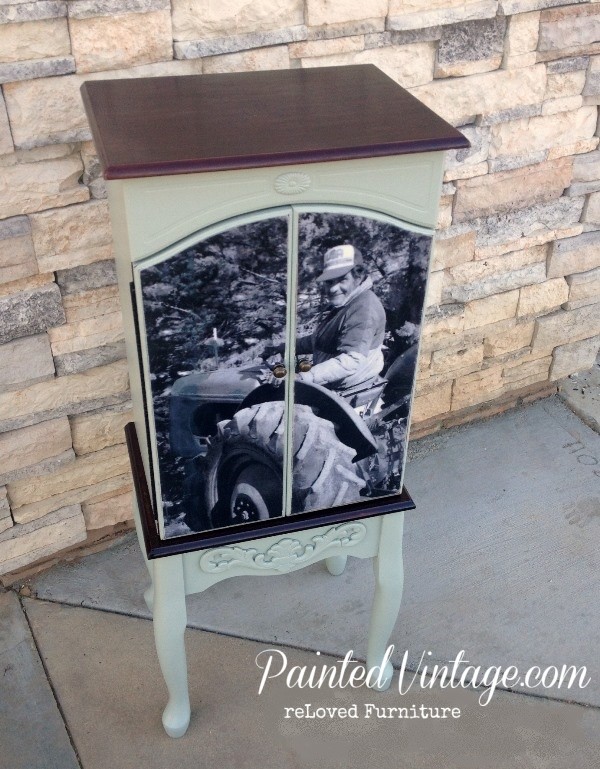
I hope I have inspired you to create your own treasured keepsake. Have you experimented yet with Engineer Prints?
Please share with me your ideas and experiences!
If you enjoyed this post, please subscribe to my blog for email updates.
My Engineer Print Chest has shared at:



Wow this is amazing.. I wonder if I could actually get engineer print in UK for normal price. … Anyway im your new fan cheers
This is absolutely STUNNING. Popping over from the “Simply The Best” party and I’ll tell ya, I am having a tough time deciding my vote. This is for sure in my top three. Love. It. Pinned it and sharing on FB & Twitter. I’ll follow you there too.
Have a great day! xo, Claire
Thank you so much, Claire!! I’m flattered!! you have a good day as well!!
I’ve never used Engineer’s print, but this project turn out great, I love how you made due by painting the rest of the tractor, can’t tell you did that! Very lovely remake!
Thanks Rose! I was kinda proud of that!!
Wow that is really gorgeous!
Very good gift!
Priceless & Beautiful!! Pinned & Tweeted.
absolutely awesome!!! thank you for sharing the. how too..as not everyone would do!!
I love sharing! I’m glad you enjoyed it
I will have your blog updates now via email….and pinned this piece…thank you so much
Yes I plan on doing some got to keep this I have a cool pic of greatgrand dad wagon wheel buisnesd
Oh, that sounds like it would be a great pic for a keepsake project!! I’d love to see what you come up with!