The story of a little ‘Tracey’s Fancy’ Inspired Armoire
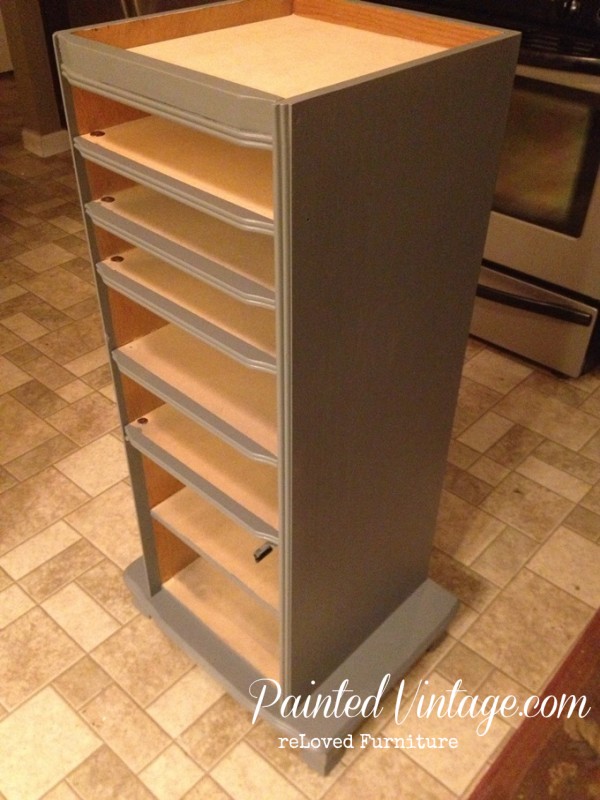
So while I was out of town at the SNAP! Convention, one of my bestest clients ever, dropped off this oak jewelry armoire.
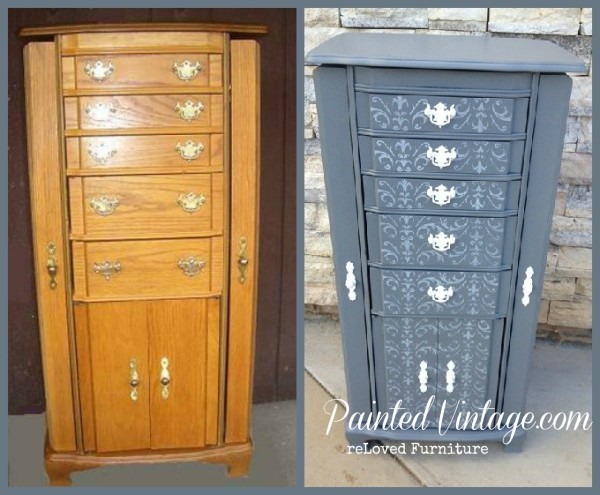
She seen it and had to have it, but had no idea how she wanted it refinished. She didn’t like all that oak… She didn’t like all that brass…
We spoke of French designs, classic greys, and eliminating hardware. 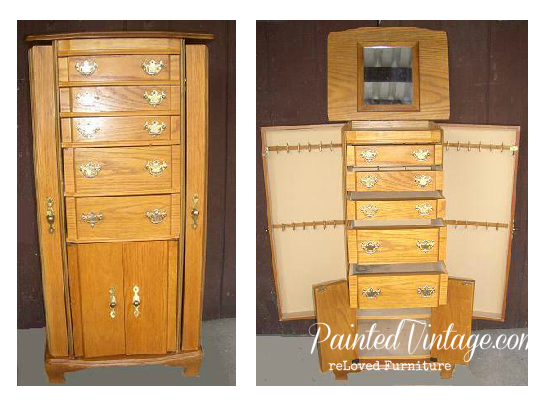
Then one day she found it!! Exactly what she wanted for her oak jewelry armoire!!
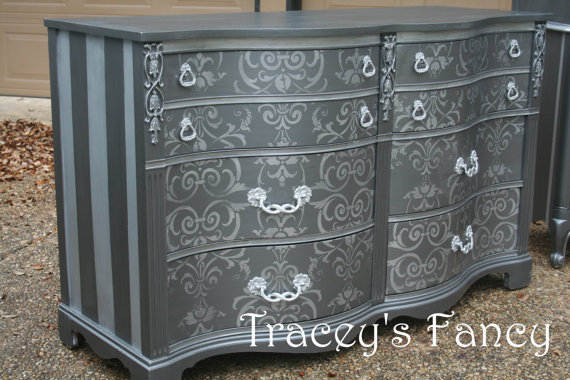
She sent me a photo of this gorgeous dresser from the Melinda line over at Tracey’s Fancy.
“What is Tracey’s Fancy?”
Well, I’m glad you asked! Tracey Bellion over at Tracey’s Fancy does AH-mazing painted furniture transformations. She has a distinctive style, and all of her exclusive designs are highly customized and very unique.
If you have never seen her work, you are really missing out on some exceptional Twisted Vintage Furniture!! She is truly an inspiration in creativity!
You can read more about Tracey here. Please check out her Etsy Shop, and go give her a like on FaceBook. Go ahead, I’ll wait… but come right back!
………
So after I had a very clear idea of what my client was looking for, I could get started! This was an older jewelry armoire. As soon as I started taking it apart, I knew something was different with this piece.
I could see all the previous repairs that had been done over the years. And unlike many of the neglected and unwanted furniture pieces I rescue, I could tell this one was special and had been loved for a long, long time!
 Which made me wonder why it was sold in the first place… So I imagined this whole background story centered around that overly-tanned, lady from the movie “There’s Something About Mary”, you know? Magda. Well, it evolves into a very long story, but eventually the armoire ends up in my little workshop, waiting anxiously for some lipstick and rogue.
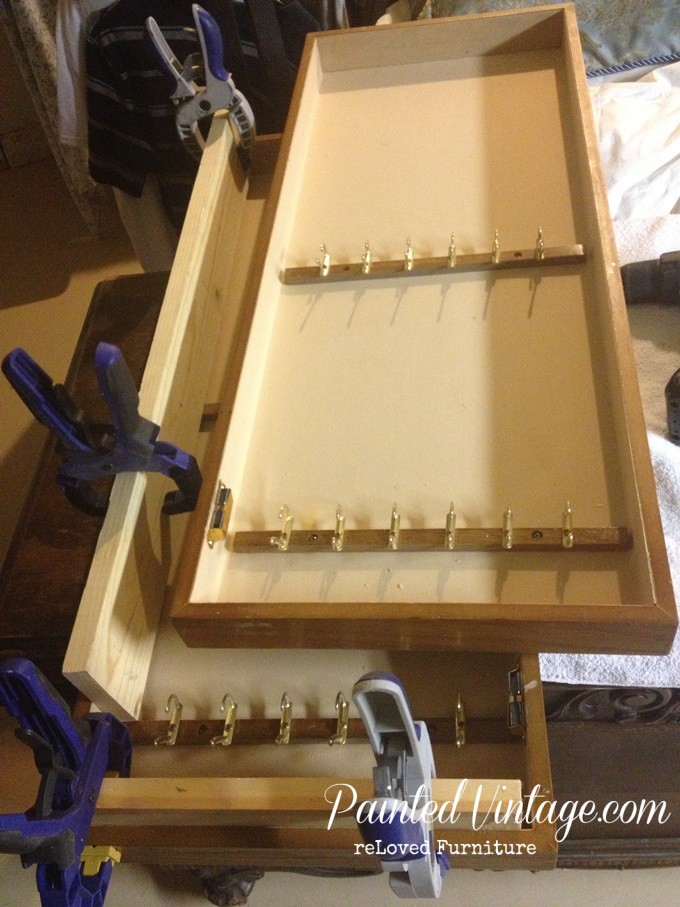
OK, back to work! So where was I? Oh, after I took the doors off I could go about finishing up the new repairs that were needed.
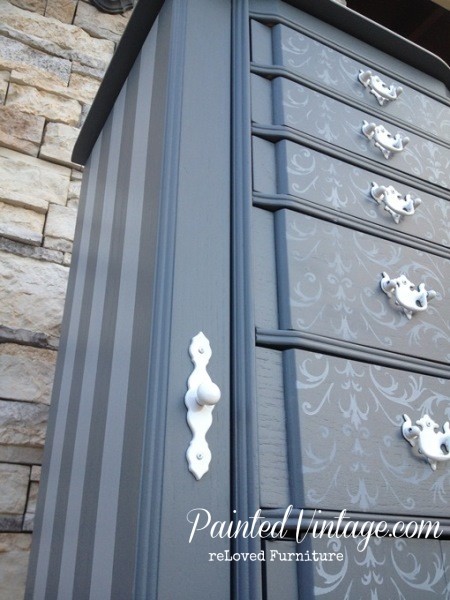
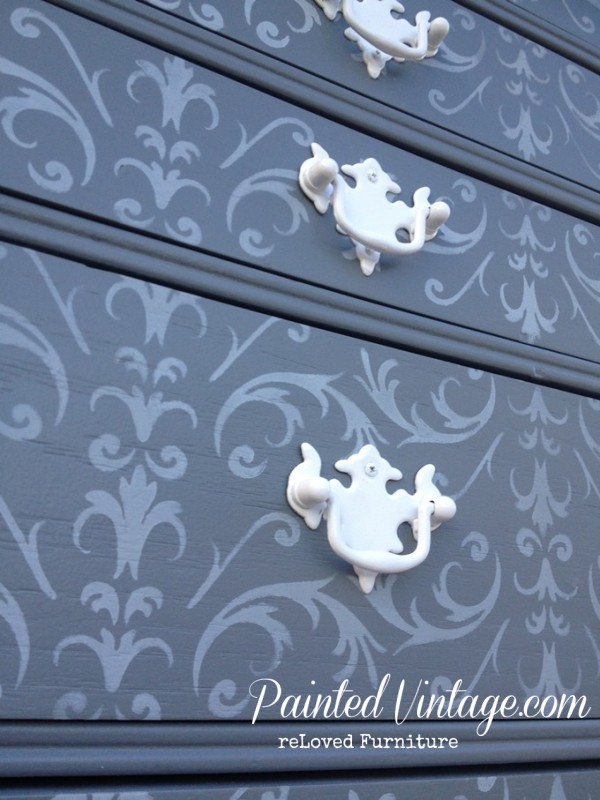
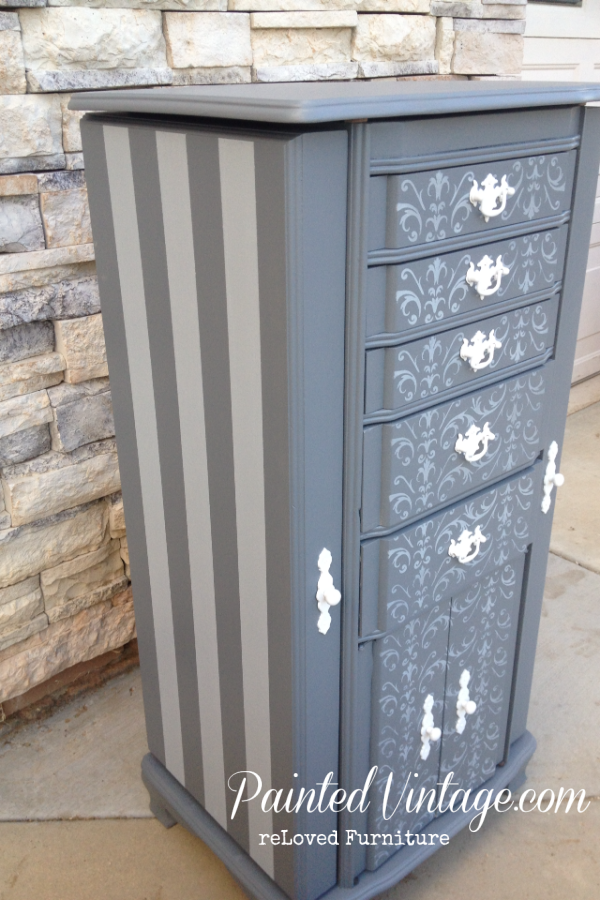
I sanded and primed. Then I applied my base coat color, which is by Valspar, called Almost Charcoal. I also primed and painted the drawer pulls, door handles and hooks in a satin white.
Then the fun really gets started… the decorative painting!
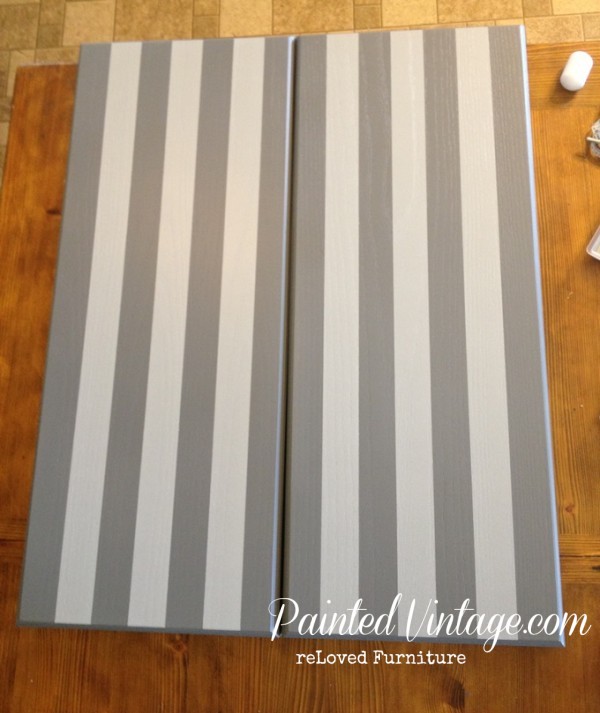
I painted the stripes in Valspar’s Hazy Stratus on the doors first. If you want to see my technique for Painting Perfect Stripes, click here.
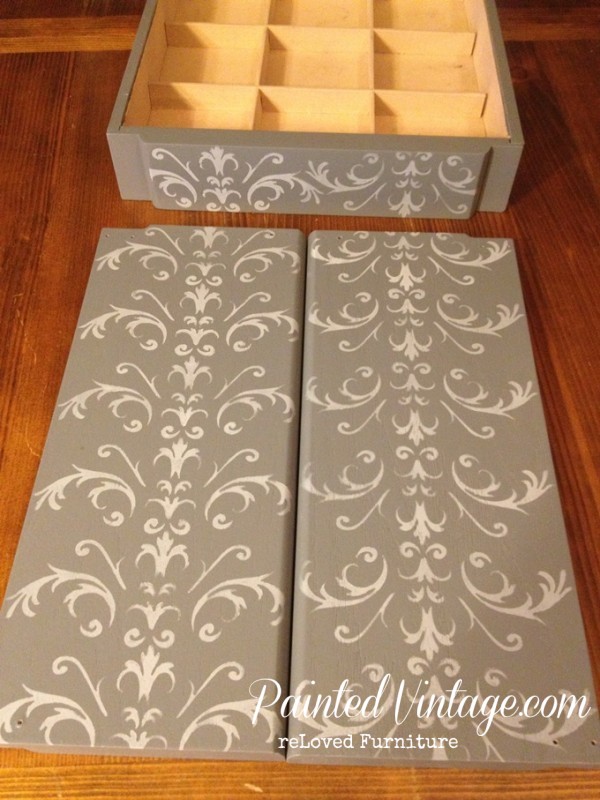
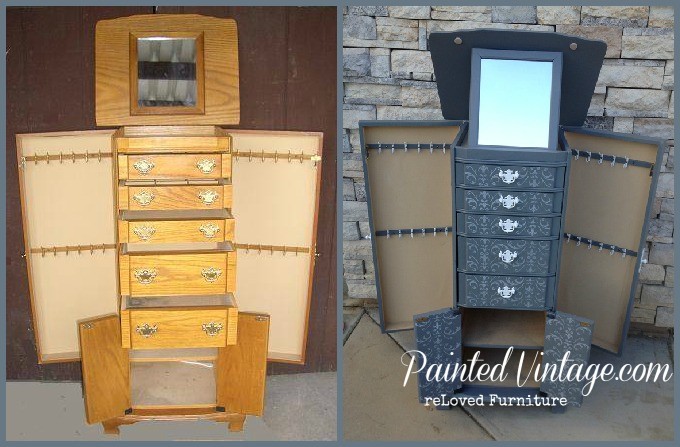
Next I stenciled the drawer front’s and the inner doors. (Haa! I really did stencil the inner doors!!)
I accidentally stenciled the inside of the inner doors. So then I had to go back and stencil the outside of the inner doors. My client just thinks her doors are ultra-custom!!
Next I had to relocate all the drawer pulls. Remember, we talked about eliminating hardware? My client wanted one drawer pull centered on each drawer, instead of the two that were originally there.
After I removed all the hardware, and before I painted, I patched all the holes and sanded everything smooth. I know there are special Drawer Pull Instillation Jig’s available that take all the guess-work out of centering you drawer hardware, but I just used a plain old tape measure.
I think the little jewelry armoire is so much happier all gussied up!
Here’s the final reveal:
And a look back at the before and afters:
The reLoved armoire is now back home, safely with its new owner, living a quiet life free of chain smoking and sloppy doggie kisses!
If you enjoyed my Tracey’s Fancy Inspired Armoire, please consider subscribing to my blog, and please leave your feedback below!
I’d love to hear your comments!



I love your work. Such bright and vivid colors. Just wonderful. So refreshing to look at. Better than that distressed unfinished look that is everywhere.
Hi ,I would first like to Thank you for teaching us the how toos.I often have these questions and some you have answered already just from this so far..I do have another question Could u walk us through how u did the stenciled the doors.Truthfully I have never been successful in stenciling and i think if you explained stenciling the way you did the stripes I would understand how and what im supposed to do.I enjoy doing projects for my home but with your guidance I know I can be successful at this also.I really appreciate your teaching us it is truely wonderful of you to share with us these skills.Thanks again,Sharon Upstate New York, Near Lake George..
Amazing work!!
Aw, Thank you so much!!!
Wow! Another great project for me to do. I have a jewelry cabinet that was given to me and it NEEDS love. I am once again inspired. Keep the great ideas coming!!! Thanks!
I too own a sad little jewelry armoire. I was looking for a project and you have inspired me! Love this so much and can’t wait to get started! I’m going to attempt it in golden or russet shades, although I adore the gray. Thank you, thank you for the inspiration (and the attribution to the original designer) and such complete instructions. Also, love the stripe painting tips. Always tricky for bleeding and I’m definitely going to use your tip. Thanks again.
Dearest Sweet Sherrie!!!
I am over the top touched by your kindness! You went out of your way to give me credit for your inspiration…..and not enough credit to yourself on the terrific job you did on your gussied up jewelry armoire! It is a perfect representation of my original piece! I am so impressed! Oh how I wished you live closer so we could team up our passion…..I think we would relate beautifully!
In addition to your painting talents and kindness….you are a beautiful writer! I have signed up for your blog…and look forward to following you in the future! I can’t thank you enough for you all the “props”! I will share the love right back!
Blessings!
Tracey
Thank you so much for your kind words!! I would so enjoy hanging out and doing some collaboration, we’d have a blast!
Thanks for being an inspiration!!